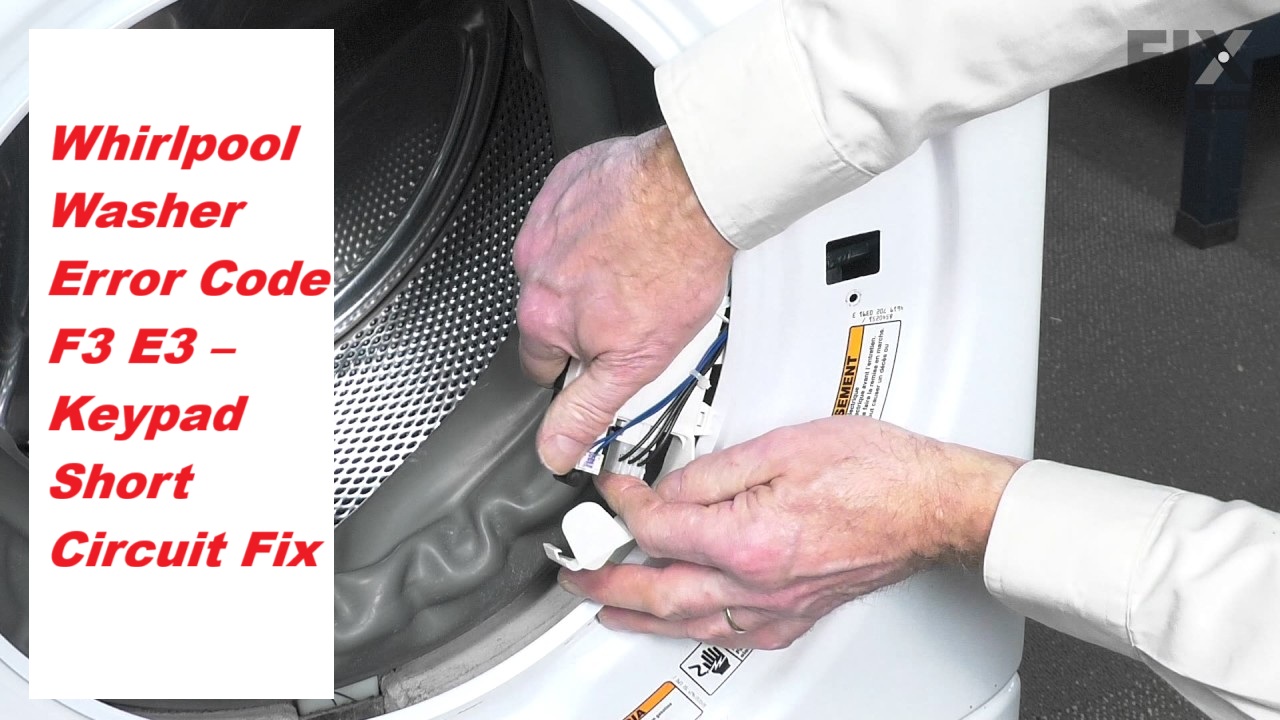
Dealing with your Whirlpool washer suddenly flashing the error code F3 E3 can be incredibly frustrating, especially when you just want to get your laundry done. This specific error indicates a keypad short circuit or malfunction, which can throw a wrench in your usual laundry routine.
But don’t worry—this is a common problem, and many of the causes have straightforward DIY solutions.
One common cause behind this error is a buildup of moisture or debris on the keypad, which can cause it to behave erratically.
To get to the bottom of this issue, I encourage you to read through the entire post. We’ll delve into various causes of the F3 E3 error and provide you with all the information you need to resolve it and get your washer running smoothly again.
What Does the Error Code Mean?
When your Whirlpool washer displays the error code F3 E3, it indicates a problem with the keypad circuit. Essentially, this means that the control board is detecting an issue with how the keypad is functioning. This error can arise from a short circuit or a malfunction within the keypad itself. As a result, you may notice unresponsive buttons or erratic behavior when you attempt to operate the washer, which can be frustrating.
To address this error, it’s important to inspect the keypad circuit for any visible damage or signs of wear. Carefully check the connections and wiring leading to the keypad. If you spot any frayed wires or loose connections, these may need to be repaired or replaced.
If the keypad appears to be in good condition, the issue might lie within the control board itself, which could require more specialized attention. In either case, you’ll want to ensure that your washer is unplugged while you perform these checks to maintain safety. Once you identify the root of the problem, you can determine whether a simple repair will suffice or if a replacement is necessary to restore your washer’s functionality. Remember, addressing these issues promptly can help prevent further damage and keep your appliance running smoothly.
Common Causes of the Error Code
Identifying Common Causes of the F3 E3 Error Code
Cause 1
If your Whirlpool washer is showing the F3 E3 error code, it typically indicates an issue with the temperature sensor. This could be due to a faulty sensor itself or a problem with the wiring connected to it. To effectively diagnose the issue, start by performing a set of washing machine diagnostics to pinpoint any irregularities.
First, check the wiring harness for any signs of damage or loose connections, as these can interfere with the sensor’s operation. If your diagnostics indicate that the temperature sensor is indeed malfunctioning, you may need to consider replacing it. Additionally, remember that the keypad plays a crucial role in communicating temperature readings to the control board, so if the keypad is compromised, that could also lead to issues.
Addressing these problems promptly is essential to restore your washer’s performance and to prevent further complications down the line. I encourage you to refer to your user manual for detailed troubleshooting steps tailored to your specific model. This approach will ensure that you are taking safe and effective measures while working on your appliance.
Cause 2
While the temperature sensor is often the first suspect when dealing with the F3 E3 error code, it’s important to recognize that other issues can also trigger this warning. One common culprit is faulty electrical wiring. If there’s damage or corrosion within the wiring harness, it can disrupt the communication between the keypad and the circuit board, leading to the appearance of the error code.
Another potential issue could be a malfunctioning circuit board. If components on the board have shorted out or if there are poor connections, it can send incorrect signals, causing the F3 E3 error to manifest.
To effectively diagnose the problem, start by carefully inspecting the wiring for any visible damage, such as frayed wires or corrosion. Next, test the circuit board to ensure its operational integrity. Checking for continuity and proper connections can help identify any faults.
Addressing these electrical issues is often key to resolving the F3 E3 error code. Remember, safety is paramount—always disconnect the appliance from power before performing any inspections or repairs. If you feel uncertain about any step, don’t hesitate to consult a professional technician.
Cause 3
Several factors can lead to the F3 E3 error code on your Whirlpool washer, and it’s not just about a faulty temperature sensor. One common issue to consider is the wiring connected to the keypad. If this wiring gets damaged or shorted, it can disrupt the communication between the keypad and the control board, which may result in incorrect error codes being displayed.
To troubleshoot this, start by inspecting the wiring for any signs of wear, such as frayed wires or loose connections. These can significantly interfere with the signals sent to the control module. Additionally, be mindful of moisture intrusion, which can corrode connections over time and cause similar issues.
Take your time to thoroughly check these elements, as ensuring the integrity of the keypad wiring is crucial for restoring your washer’s performance and clearing the F3 E3 error. Remember, safety is paramount; always unplug the washer before performing any inspections or repairs. By addressing any wiring issues you may find, you can help get your washer back to its optimal functioning state.
Cause 4
Understanding the common causes of the F3 E3 error code is essential for quickly diagnosing the issue with your appliance. Based on my experience, here are some frequent causes of malfunction that you may encounter:
- Faulty Keypad: One of the more common issues is a damaged or unresponsive keypad. If you notice that certain buttons aren’t working, this might be the culprit behind the error code.
- Wiring Issues: Wiring problems can often lead to this error as well. Check for any loose or damaged wires connecting the keypad to the control board, as these can create short circuits that trigger the F3 E3 code.
- Control Board Malfunction: A defective control board can misinterpret the signals coming from the keypad. If you suspect this is the issue, it’s important to have the control board tested or replaced by a professional.
- Moisture Exposure: Excessive moisture in the control area can lead to electrical faults. Ensure that the control panel is dry and free from any water damage, as this can also cause the F3 E3 error.
Required Tools to Fix the Error
Essential Tools for Repairing Whirlpool Washer Error Code F3 E3
Basic Tools
When addressing the Whirlpool washer error code F3 E3, having the right tools at your disposal is crucial for a smooth and efficient repair process. Using the appropriate basic tools not only simplifies your troubleshooting efforts but also ensures you can effectively tackle the issue at hand. Here’s a list of essential tools you’ll need:
- Screwdriver Set – This is necessary for removing the control panel and accessing the internal components of your washer. A set with both Phillips and flathead screwdrivers will cover all your needs.
- Multimeter – A vital tool for testing electrical connections and verifying the functionality of various components. This will help you determine if the issue lies with a specific part, such as the pressure switch or the control board.
- Wire Strippers – These are helpful if you encounter damaged wires that need repairing or replacing. Ensuring solid electrical connections is key to restoring your washer’s functionality.
- Flashlight – A flashlight will come in handy to illuminate dark areas inside the washer during your inspection, allowing you to see what you’re working on more clearly.
With these basic tools in hand, you’ll be well-prepared to diagnose and resolve the F3 E3 error code efficiently and safely. Remember, taking the time to ensure you have the right equipment can make all the difference in your repair experience. Stay safe, and good luck with your repair!
Supplies
To effectively address the Whirlpool washer error code F3 E3, it’s essential to gather the right supplies. The first step is to ensure you have a compatible replacement keypad, as this is crucial for resolving the short circuit issue indicated by the error code.
Next, consider stocking up on cleaning supplies that are specifically designed for maintaining water filtration systems and ensuring the proper compatibility of detergents. A soft cloth or sponge will be invaluable for cleaning the contacts and surrounding surfaces, allowing you to remove any grime without causing damage to the components.
Additionally, having a multimeter at your disposal is vital for testing electrical connections. This tool will help you check for continuity, ensuring that all electrical pathways are functioning properly.
Don’t overlook the importance of a clean working environment; using a vacuum to remove dust and debris around the washer is a simple yet effective way to prevent performance issues.
With these supplies in hand, you’ll be well-prepared to tackle the repair and restore your washer to optimal working condition. Remember, safety first—always unplug your appliance before beginning any repair work.
Pre-Safety Checklist Before Fixing
Before you start any repairs on your Whirlpool washer, it’s crucial to prioritize safety and ensure that everything is set up for a successful fix. Here are some essential safety precautions to follow:
- Unplug the Washer: Always disconnect the power supply before you begin. This simple step is key to preventing any risk of electrical shock while you work.
- Wear Personal Protective Gear: Equip yourself with safety goggles and gloves. This will protect your eyes from debris and your hands from potential cuts or bruises while handling parts and tools.
- Check for Leaks: Take a moment to inspect the area surrounding your washer. Look for any signs of water leaks, as they can create slippery conditions that could lead to accidents.
- Clear the Workspace: Ensure the area around your washer is free from clutter. A tidy workspace not only enhances safety but also gives you the room you need to maneuver comfortably while you work.
Diagnose the Error Code
To effectively diagnose the F3 E3 error code on your Whirlpool washer, it’s important to understand what this code signifies and the potential issues behind it. The F3 E3 error typically indicates a keypad short circuit, which can occur due to faulty connections or exposure to moisture.
Start your diagnostic process by carefully inspecting the wiring harness for any visible damage or loose connections. This is crucial, as a solid connection is essential for proper function. After checking the harness, if your model allows it, run a diagnostic cycle. This can often provide additional information about the fault and may reveal any accompanying error codes that could shed light on the issue.
As you go through these steps, take note of any other error codes that appear alongside the F3 E3. These can often help pinpoint the problem more accurately. By systematically examining these factors, you’ll be well-equipped to identify the underlying issue and take appropriate action. Always remember to prioritize safety; disconnect the power before accessing internal components to avoid electrical hazards.
Step-by-Step DIY Troubleshooting Guide
Transitioning to Troubleshooting Steps
Fix for Cause 1
Addressing the F3 E3 error code on your Whirlpool washer may initially feel overwhelming, but with a structured approach, you can efficiently identify and resolve the issue. Let’s take this step by step, keeping safety as our top priority.
- Unplug the Washer: Start by disconnecting the washer from the power source. This is crucial to ensure your safety and prevent any risk of electrical shock while you work on the appliance.
- Inspect the Keypad: Take a close look at the control keypad. Check for any signs of physical damage, such as cracks or wear, and ensure that there’s no debris or moisture that could interfere with its connections.
- Check Wiring Connections: Next, examine all wiring connections related to the control board and keypad. Make sure that the wires are securely connected and free from any visible damage, such as fraying or corrosion.
- Test the Control Board: Using a multimeter, you can test the control board for continuity and functionality. This step is vital to determine if the control board is operating correctly or if it needs to be replaced.
Fix for Cause 2
After you’ve thoroughly checked the keypad and control board for any issues, it’s important to address another common culprit behind the F3 E3 error code: the temperature sensor. Start by unplugging your washer to ensure your safety while working. The temperature sensor is typically located near the heating element, so you’ll want to locate it carefully.
Once you’ve found the sensor, inspect it for any signs of visible damage or loose connections. If everything appears to be intact, the next step is to test the sensor’s resistance using a multimeter. This tool will allow you to measure the electrical resistance of the sensor. Be sure to compare your readings with the specifications provided by the manufacturer; they can usually be found in the user manual or on a label inside the washer.
If your readings fall outside the acceptable range, it’s time to replace the temperature sensor. After installing the new sensor, make sure everything is reconnected securely. Plug your washer back in and run a test cycle to verify that the error code no longer appears.
Fix for Cause 3
To effectively resolve the F3 E3 error code, it’s essential to inspect the wiring and connections between the control board and the temperature sensor. Faulty wiring can lead to issues that trigger this error. Here’s a detailed step-by-step guide to help you troubleshoot the problem safely:
- Unplug the washer: Safety is your top priority. Make sure to disconnect the power supply before inspecting any wiring connections.
- Inspect the wiring harness: Examine the wiring between the control board and the temperature sensor for any signs of damage, such as fraying or corrosion. Look for any loose connections that may have come undone.
- Test the continuity: Using a multimeter, check the continuity of the wires. This process involves setting your multimeter to the continuity setting and touching the probes to either end of the wire. If the multimeter beeps or shows a reading, the circuit is intact; if not, there may be a break in the wire that needs to be addressed.
- Secure loose connections: If you find any loose connections, make sure to reconnect them firmly. Ensure that all plugs are properly seated and that there are no obstructions preventing a good connection.
Fix for Cause 4
When addressing the F3 E3 error code in your washer, one important aspect to examine is the temperature sensor itself. To ensure your safety, always start by unplugging the washer before proceeding with any troubleshooting.
First, locate the wiring harness that connects to the temperature sensor, which is generally positioned near the drum. Carefully inspect the wiring for any signs of wear, damage, or corrosion. If you notice any issues—such as frayed wires or corrosion—it’s crucial to replace the wiring harness to restore proper functionality.
Next, take a look at the circuit board. Examine it for any visible signs of damage, such as burnt components or corrosion. If the circuit board appears to be in good condition, you can proceed to test the temperature sensor’s resistance using a multimeter. Be sure to refer to your specific model’s manual for the correct resistance range, as this can vary between models.
If the multimeter readings indicate that the temperature sensor is out of the prescribed range, it will need to be replaced. Once you’ve made any necessary repairs or replacements, reassemble the washer, plug it back in, and perform a test cycle to ensure everything is functioning correctly.
Call a Professional If
If the error code F3 E3 continues to appear despite your best troubleshooting efforts, it may be time to consult a professional technician. Trying to fix the issue further without the right expertise can lead to additional damage or even safety hazards. Here are some clear signs that you should consider seeking professional help:
- All troubleshooting attempts have failed: If you’ve diligently followed troubleshooting steps and the issue remains unresolved, it’s a strong indicator that professional intervention is necessary.
- Appearance of new error codes or symptoms: If your washer starts displaying other error codes or exhibits different problems, this may point to a more complex issue that requires expert analysis.
- Visible damage: Inspect the wiring and components of your washer. If you notice any signs of physical damage—like frayed wires or burnt components—it’s crucial to have a professional assess the situation.
- Uncertainty with advanced diagnostics: If you feel uncomfortable or unsure about how to perform deeper diagnostics, it’s best to leave it to a qualified technician. Safety should always be your top priority.
In these cases, a skilled technician can accurately diagnose the issue and perform safe, effective repairs. Don’t hesitate to reach out for professional assistance; it can save you both time and money in the long run. Your washer will appreciate the care!