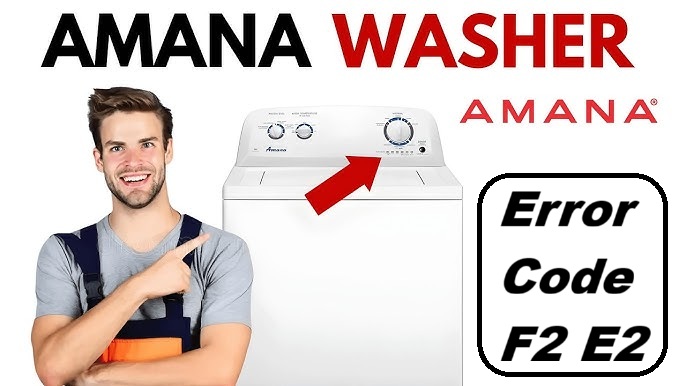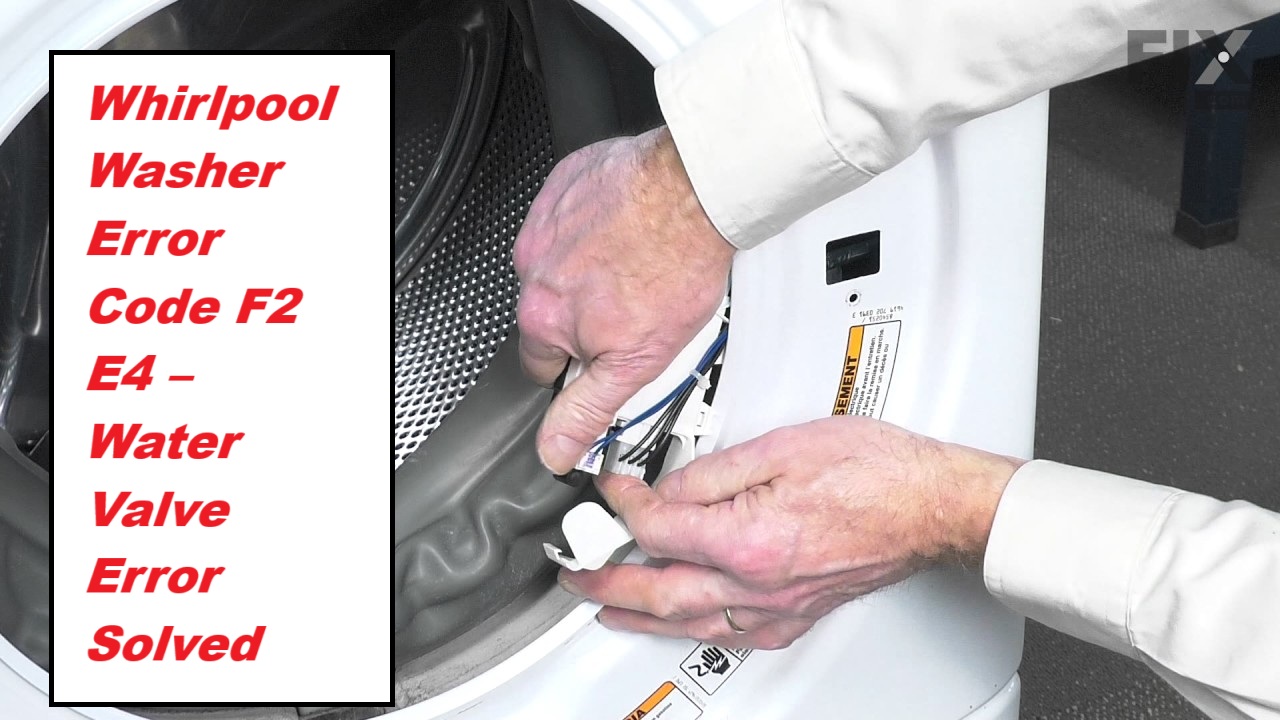
Dealing with your Whirlpool washer showing the F2 E4 error code can be incredibly frustrating, especially when you’re trying to get your laundry done. This specific error code indicates a problem with the water valve, which can throw a wrench in your laundry routine.
In simple terms, it usually means that the washer is having trouble filling up with water.
Don’t worry—this is a common issue that many people encounter, and there are usually straightforward DIY solutions. One common cause of the F2 E4 error could be faulty inlet valves, but there are other potential issues as well.
To get a full understanding of this error and to explore all the possible causes and solutions, make sure to read through this entire post. We’re here to help you get your washer back in working order!
What Does the Error Code Mean?
When your Whirlpool washer displays the error code F2 E4, it usually points to an issue with the lid lock system. This error can occur if the lid lock isn’t properly engaging, which may prevent the washer from filling with water. Before considering replacing any parts, it’s essential to check the water pressure in your home first. Low water pressure can impact the washer’s performance and trigger this error.
Next, take a moment to inspect the lid lock mechanism. Look for any obstructions, such as debris or clothing, that could be blocking the lid from closing properly. Also, check for any visible signs of damage to the lock assembly itself.
If you’ve gone through these steps and the error persists, it’s likely that the lid lock assembly may need to be replaced. In some cases, other components related to the locking system could also be at fault. Addressing these issues promptly is crucial to restoring your washer’s functionality and ensuring it operates safely and efficiently. Remember, if you’re ever unsure, don’t hesitate to consult a professional technician for assistance.
Common Causes of the Error Code
Understanding the F2 E4 Error Code Causes
Cause 1
If your Whirlpool washer is showing the F2 E4 error code, it typically points to an issue with the water levels in the machine. A frequent culprit is a malfunctioning water inlet valve, which can hinder the proper flow of water into the drum. This problem may occur if debris is blocking the valve screens or if the valve itself has failed.
To troubleshoot this issue, start by inspecting the water inlet valve. Look for any debris or obstructions that could be preventing it from functioning correctly. Cleaning the screens can often resolve the issue. If the valve appears to be damaged or fails to open when it should, a replacement will be necessary.
Before you begin any repairs, it’s crucial to turn off the power to the washer and shut off the water supply. Safety should always be your top priority. By addressing these potential problems, you can effectively resolve the F2 E4 error code and restore your washer to good working order. Remember, taking these steps not only helps you fix the problem but also enhances your understanding of your appliance, empowering you to tackle future issues with confidence.
Cause 2
While a malfunctioning water inlet valve is indeed a common cause of the F2 E4 error code on your Whirlpool washer, there are additional factors to consider that can help you troubleshoot more effectively. Let’s explore three potential issues that could be triggering this error:
- Insufficient Water Pressure: If the water pressure in your home is too low, it may prevent the valve assembly from opening properly. This can lead to the F2 E4 error code appearing. Check your water supply to ensure adequate pressure is reaching your washer.
- Clogged Hoses: Over time, hoses can become clogged with debris or develop kinks that restrict water flow. Inspect your hoses for any blockages and ensure they are straight and free of obstructions to allow for proper water intake.
- Faulty Electrical Connections: Sometimes, the issue may lie in the electrical connections. Damaged wiring or loose connectors can disrupt the communication between the control board and the valve assembly, leading to errors. Carefully examine the wiring for any signs of wear or disconnection.
Cause 3
When troubleshooting the F2 E4 error code on your Whirlpool washer, it’s important to consider several common causes beyond just insufficient water pressure, clogged hoses, and faulty electrical connections. One significant culprit could be a defective water valve. If this valve is not functioning properly—whether it’s failing to open or close—it can disrupt the water flow and trigger the error code.
To address this, first, inspect the water valve for any signs of wear or damage. Look for cracks, corrosion, or any other abnormalities that might indicate a malfunction. If you find that the water valve is indeed defective, replacing it will likely restore proper operation to your washer.
Additionally, verify that your water supply is consistent and adheres to the required pressure specifications. Low water pressure can also contribute to this error code, so it’s essential to ensure that your water source is adequate.
Cause 4
Another common cause of the F2 E4 error code in Whirlpool washers is related to the pressure switch. This component plays a crucial role in monitoring water levels, and when it becomes faulty, it can trigger this error. Let’s break down three important factors to consider:
- Clogged Hose: Begin by examining the hose that connects to the pressure switch. A blockage in this hose can lead to inaccurate pressure readings, which may cause the error code to appear. Ensure the hose is clear and free from obstructions.
- Faulty Switch: If the pressure switch itself is defective, it will not function correctly. In this case, replacing the switch is necessary to restore its ability to monitor water levels accurately. Testing the switch with a multimeter can help determine if it’s working properly.
- Electrical Issues: Take a close look at the wiring connected to the pressure switch. Loose or damaged connections can interfere with the communication between the switch and the control board, potentially triggering the error code. Ensure all connections are secure and intact.
If you’ve addressed these issues and the F2 E4 error persists, the next step may involve replacing the water inlet valve. A malfunctioning valve can disrupt the flow of water, leading to further complications. Always prioritize safety by disconnecting the washer from the power source before performing any repairs. With careful troubleshooting, you can resolve this issue and get your washer back to optimal performance.
Required Tools to Fix the Error
Gathering Essential Tools for Repair
Basic Tools
Having the right tools on hand is crucial for effectively addressing the Whirlpool washer error code F2 E4. As a seasoned appliance repair technician with over 20 years of experience, I want to ensure you feel confident tackling this issue. Here’s a list of essential tools you’ll need to gather before you begin your troubleshooting:
- Screwdriver Set: A flathead and Phillips screwdriver will allow you to access the internal components of your washer safely. Make sure to use the right size to avoid stripping screws.
- Multimeter: This is an invaluable tool for testing electrical components, such as the water valve and various connections, for continuity and voltage. Understanding how to use a multimeter will empower you to diagnose electrical issues accurately.
- Pliers: A good pair of pliers will help you grip and manipulate tight connections or hoses. They are particularly useful when removing or securing clamps.
Having these basic tools at your disposal will enable you to diagnose and potentially resolve the error code F2 E4 effectively. I recommend preparing your workspace and ensuring you have everything ready before diving into the repair process. This preparation will lead to a smoother experience and a quicker resolution to the issue. Remember, safety is paramount, so always unplug your washer before beginning any repairs.
Supplies
When addressing the Whirlpool washer error code F2 E4, it’s crucial to be prepared with the right tools and supplies to ensure a successful repair. Here’s a comprehensive list to help you get started:
- Multimeter: This is essential for performing electrical tests. It will help you check the voltage and continuity of the water inlet valve, ensuring that your water supply is functioning correctly.
- Screwdrivers: A good set of screwdrivers is important for accessing the water valve assembly. You’ll likely need both Phillips and flathead screwdrivers, as different screws may be used in the assembly.
- Pliers: These will be helpful for safely disconnecting hoses connected to the water inlet valve. Ensure you have a pair that can grip firmly without damaging the hoses.
- Bucket: Keeping a bucket handy is wise. It will catch any residual water that may spill when you disconnect the hoses, preventing a mess and potential water damage.
- Replacement Parts: Having a new water inlet valve on hand can significantly speed up the repair process. It’s advisable to source parts that are compatible with your specific Whirlpool washer model.
- Towel or Rag: Always keep a towel or rag nearby to clean up any spills that may occur during the repair process. This will help maintain a safe working environment.
Pre-Safety Checklist Before Fixing
Before you start addressing the Whirlpool washer error code F2 E4, it’s crucial to ensure your work environment is both safe and well-prepared. Adhering to proper safety protocols not only facilitates a smoother troubleshooting process but also protects you from potential hazards. Here’s a practical pre-safety checklist to follow:
Before tackling the Whirlpool washer error code F2 E4, prioritize safety by preparing your workspace effectively.
- Unplug the Washer: Always disconnect the power supply. This step is vital to prevent any risk of electrical shock while you’re working on the machine.
- Turn Off Water Supply: Make sure to shut off the water valves connected to the washer. This precaution helps avoid leaks or flooding that could occur during repairs.
- Clear the Area: Remove any items or obstacles surrounding the washer. A clutter-free workspace ensures you can move safely and access the appliance without hindrance.
Diagnose the Error Code
To effectively diagnose the Whirlpool washer error code F2 E4, it’s crucial to approach the issue methodically. As a seasoned appliance repair technician with over 20 years of experience, I’ll guide you through the necessary steps to identify and resolve this error safely and efficiently.
The F2 E4 error typically indicates a problem with the control board or associated wiring. Here’s a clear and structured plan to help you pinpoint the issue:
| Step | Action |
|---|---|
| 1. Inspect Wiring | Carefully check all wiring connections for any signs of looseness, fraying, or damage. Ensure that all connectors are secure and intact. Any compromised wiring can lead to communication failures. |
| 2. Test Control Board | Use a multimeter to check for continuity on the control board. This will help you determine if there are any faulty components that need replacement. Make sure to disconnect power before performing this test to ensure your safety. |
| 3. Examine Water Valves | Inspect the water inlet valves for any blockages, leaks, or signs of wear. Clogged valves can prevent proper water flow, contributing to error codes. Clean or replace them if necessary. |
| 4. Check Error Codes | Record any additional error codes that may appear. They can provide valuable clues about underlying issues and help you diagnose the problem more accurately. |
Step-by-Step DIY Troubleshooting Guide
Next Steps for Troubleshooting the F2 E4 Error
Fix for Cause 1
If you’re encountering the Whirlpool washer error code F2 E4, it’s crucial to tackle the root cause to restore your machine’s functionality. This issue is frequently linked to the water inlet valve. Here’s a step-by-step guide to assist you in replacing it safely and effectively:
- Unplug the Washer: Safety first! Ensure the washer is disconnected from the power source to prevent any risk of electrical shock.
- Access the Water Inlet Valve: Remove the back panel of your washer to locate the water inlet valve. Take a moment to inspect it for any signs of visible damage, such as cracks or blockages that might impede water flow.
- Replace the Valve: Carefully disconnect the old valve from the hoses and wiring. When installing the new valve, make sure it is securely connected to both the water inlet and the power supply. This ensures proper functionality and prevents leaks.
Once you’ve completed these steps, plug your washer back in and run a test cycle. This will help confirm whether the error code has been resolved and that your machine is operating smoothly again.
If you encounter any difficulties during this process or if the issue persists, don’t hesitate to consult a professional technician for further assistance. Your safety and the performance of your appliance are always top priorities.
Fix for Cause 2
If you’ve ruled out the water inlet valve as the source of the Whirlpool washer error code F2 E4, the next likely culprit could be the pressure switch or its associated hose. Let’s walk through the steps to diagnose this issue safely and effectively.
- Inspect the Pressure Hose: Begin by visually checking the pressure hose for any kinks, blockages, or signs of wear. It should be securely attached at both ends—one end connected to the tub and the other to the pressure switch. Any obstruction can interfere with the pressure readings and cause errors.
- Test the Pressure Switch: Using a multimeter, check the pressure switch for continuity. This device is crucial for detecting water levels in the tub. If the multimeter indicates no continuity, the pressure switch is likely faulty and will need to be replaced.
- Check Water Pressure: It’s important to ensure that your home’s water pressure is adequate for the washer’s operation. Low water pressure can also trigger error codes. If you find that your pressure is below the recommended level (typically between 20-120 psi), consider contacting a plumber to address the issue.
- Replace Faulty Components: If you’ve identified any faulty components during your inspections—be it the pressure hose or the pressure switch—make sure to replace them with parts that are compatible with your model. Always refer to your washer’s manual for specific part numbers and installation instructions.
Fix for Cause 3
After tackling potential issues with the pressure switch and hose, it’s important to turn your attention to the drain system, as this can also trigger the F2 E4 error code. Here’s a step-by-step guide to help you troubleshoot effectively:
- Check for Blockages: Begin by inspecting the drain hose. Look for any kinks or clogs that could be obstructing water flow. A clear hose is crucial for proper drainage.
- Verify the Drain Pump: Pay attention to any unusual noises when the washer is running. If the drain pump isn’t making its typical sounds, it may not be operating correctly. In such cases, the pump might need repairs or even a replacement.
- Test Drainage Flow: To further assess the issue, run a drain cycle without any clothes in the washer. If water does not flow out during this test, it indicates a problem within the drain system that needs to be addressed.
Fix for Cause 4
To effectively address the F2 E4 error code in your washer, it’s essential to take a methodical approach, starting with the control board, as issues here can significantly impact the washer’s performance.
First and foremost, for your safety, always unplug the washer before beginning any repairs. Once unplugged, carefully remove the control panel to gain access to the control board. Inspect the board closely for any signs of burnt components or loose connections. If you notice any damage, it may be necessary to replace the control board, which can often be done with a few basic tools.
Next, it’s important to check the water pressure, as low water pressure can exacerbate the F2 E4 error. Ensure that the water supply valves are fully open. If the pressure seems low, this could be contributing to the problem.
If you’ve completed these checks and the error persists, the next step is to consider replacing the water inlet valve. To do this, disconnect the water supply, remove the faulty valve, and install a new one. This is a straightforward process that generally requires minimal tools.
After making these repairs, reassemble the washer, plug it back in, and run a test cycle to see if the issue has been resolved. By following these steps, you’ll be well on your way to restoring your washer’s functionality. Remember, if at any point you feel unsure, don’t hesitate to reach out to a professional for assistance. Your safety and the proper functioning of your appliance are what matter most.
Call a Professional If
When dealing with the F2 E4 error code on your Whirlpool washer, it’s crucial to recognize when the situation calls for professional intervention. While many issues can be resolved with basic troubleshooting, there are specific circumstances where expert assistance is necessary. Here are three scenarios that indicate it’s time to reach out to a qualified technician:
- Persistent Water Inlet Problems: If you’ve cleaned and flushed the water inlet but it remains blocked, this could point to deeper plumbing issues. A professional can accurately diagnose and address these underlying problems to restore proper water flow.
- Damaged Wiring: If you observe any frayed, burnt, or otherwise damaged wiring or connections, it’s essential to consult a technician. Electrical issues can be hazardous, and a trained expert can safely evaluate and repair any electrical components to prevent further complications.
- Valve Replacement Challenges: If you’ve attempted to replace the water valve but continue to experience issues, it’s best to call in a pro. They can ensure that the correct part is installed and functioning properly, minimizing the risk of further damage to your washer.