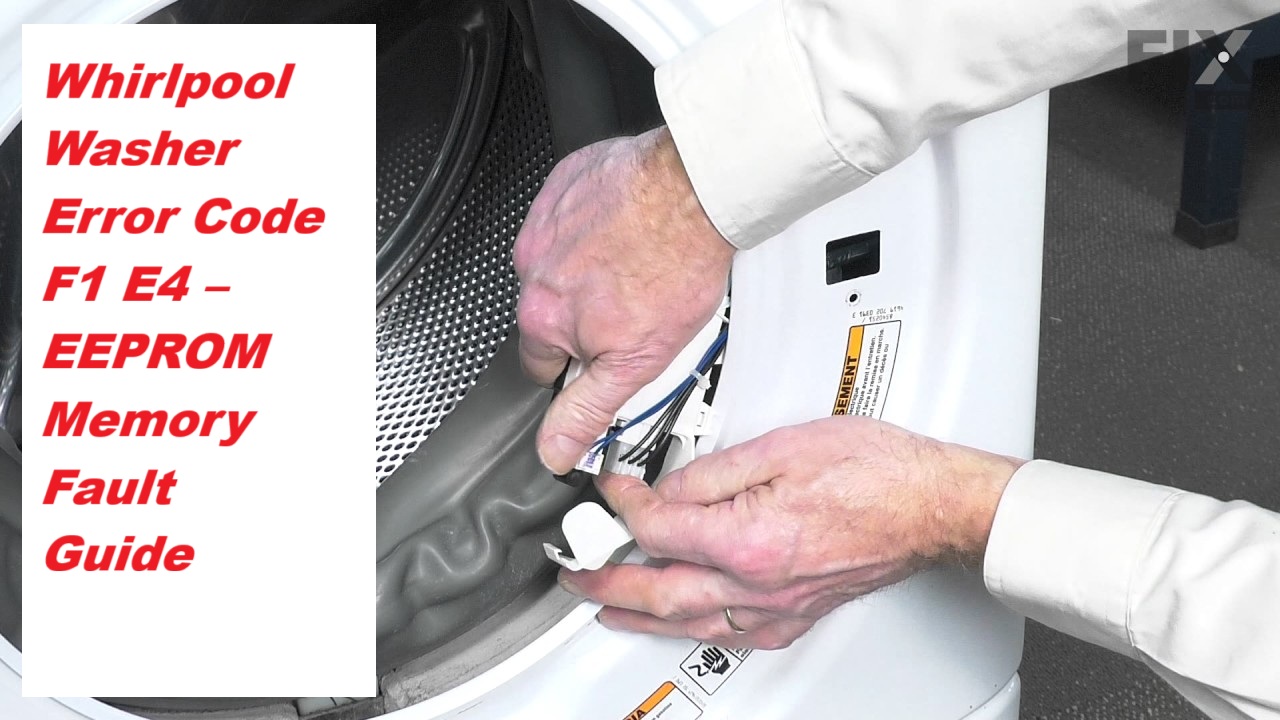
Dealing with a malfunctioning washer can be incredibly frustrating, especially when you’re greeted with the F1 E4 error code. This specific code indicates that there’s a problem with the EEPROM memory in your Whirlpool washer, which is crucial for its overall functionality.
Don’t worry, you’re not alone—this is a common issue that many users face. The good news is that there are often simple DIY solutions available.
One common cause of the F1 E4 error could be a loose connection or a faulty wiring harness.
To get your washer back up and running, I recommend reading through the entire post. We’ll cover everything you need to know about this error, including multiple causes and detailed troubleshooting steps.
You’ll be back to laundry in no time!
What Does the Error Code Mean?
When you see the Whirlpool washer error code F1 E4, it signals a specific issue with the appliance that you should address promptly. This error code signifies a problem with the washer’s EEPROM, which stands for Electrically Erasable Programmable Read-Only Memory. In simpler terms, the EEPROM is crucial because it stores important settings and operational data needed for your washer to function correctly.
The F1 E4 error code indicates an EEPROM communication issue, essential for your washer’s operation.
When the F1 E4 error appears, it typically means that the EEPROM is having trouble communicating with the control board. This communication breakdown can lead to erratic behavior of your washer or, in some cases, a complete failure to operate.
To tackle this issue effectively, you can follow these steps:
- Check Connections: Start by ensuring that all connections between the control board and the EEPROM are secure. Loose or damaged wires can often cause communication issues.
- Perform a Reset: Sometimes, simply resetting the washer can resolve temporary glitches. To do this, unplug the washer for about 5 minutes, then plug it back in and see if the error persists.
- Consider Replacement: If the problem continues after checking connections and resetting, it may indicate that the control board needs to be replaced. This is a more involved repair, and if you’re not comfortable doing it yourself, it’s wise to consult a professional technician.
Common Causes of the Error Code
Identifying the Issues Behind the F1 E4 Error Code
Cause 1
One common cause of the Whirlpool washer error code F1 E4 is a malfunctioning door lock assembly. When this component fails, it can disrupt the EEPROM programming, leading to memory errors. Addressing this issue is essential for restoring your washer’s functionality. Here are three key areas to investigate:
- Faulty Door Lock Sensor: The door lock sensor is crucial for the washer to recognize whether the door is securely closed. If this sensor fails, the washer may not operate properly, preventing it from completing cycles.
- Wiring Issues: Inspect the wiring connected to the door lock assembly. Damaged or loose wires can interrupt the communication between the door lock and the control board, causing the F1 E4 error.
- Memory Chip Replacement: In some cases, the memory chip may become corrupted due to programming errors. If you suspect this is the issue, replacing the memory chip could be necessary to restore proper function.
Cause 2
One common cause of the Whirlpool washer error code F1 E4 is an issue with the control board. This component is crucial as it manages the various electronic systems within your washer. If the control board is malfunctioning, it can lead to software errors that disrupt the washer’s operation, ultimately triggering the F1 E4 error code.
Damage to the control board can occur due to electrical surges or exposure to moisture. These factors can compromise the board’s integrity and cause it to fail. To address this issue, it’s important to start by inspecting the control board for any visible signs of damage, such as burn marks or disconnected wires. Also, check all connections to ensure they are secure.
If you find any damage or suspect a malfunction, replacing the control board might be necessary to restore your washer’s proper function and resolve the error code. Remember, safety is paramount, so always disconnect the appliance from power before attempting any repairs. If you’re uncertain about the process, it may be wise to consult a professional technician to help you diagnose and fix the issue.
Cause 3
While a malfunctioning control board is often the main reason for the Whirlpool washer error code F1 E4, don’t overlook the possibility of issues with the wiring harness. This aspect can also trigger the error, so let’s explore some practical troubleshooting steps to help you diagnose the problem effectively:
- Inspect Connections: Begin by checking all harness connections. Look for loose or corroded wires that could interrupt communication between the washer’s components. A secure and clean connection is essential for proper operation.
- Visual Damage: Carefully examine the wiring harness for any visible damage. This can include frayed wires, burnt insulation, or any signs of wear and tear. Damage in these areas can lead to electrical shorts, which can trigger the error code.
- Continuity Testing: Using a multimeter, test for continuity in the wiring harness. This step is crucial; if you find a lack of continuity, it indicates a break in the circuit. It’s important to repair any breaks to restore proper function.
Cause 4
If you’re facing the Whirlpool washer error code F1 E4, it’s important to consider several common causes in addition to potential issues with the control board and wiring harness. One of the most frequent culprits is an EEPROM fault, which can lead to memory corruption and disrupt the washer’s operational functions. Additionally, fluctuations in the power supply or electrical surges can corrupt the data stored in the EEPROM, exacerbating the issue. It’s also worth checking if your washer’s software requires an update or a reset, as this may resolve the error.
Here’s a helpful overview of common causes:
| Cause | Description |
|---|---|
| EEPROM Fault | Memory corruption affecting critical operational data |
| Power Supply Issues | Voltage fluctuations that can cause system malfunctions |
| Software Glitches | Outdated software that may trigger error codes |
| Wiring Problems | Loose or damaged connections impacting data transmission |
Required Tools to Fix the Error
Transitioning to Required Tools for Repair
Basic Tools
When addressing the Whirlpool washer error code F1 E4, it’s crucial to be prepared with the right tools to ensure a successful repair. As someone with over 20 years of experience in appliance repair, I want to guide you through the essential tools you’ll need in your troubleshooting kit:
- Screwdrivers: A reliable set that includes both Phillips and flat-head screwdrivers is key. These will allow you to safely access the internal components of your washer without damaging any parts.
- Multimeter: This indispensable tool is vital for testing electrical connections. It will help you diagnose issues related to the EEPROM and verify that your electrical components are functioning correctly.
- Pliers: A pair of needle-nose or adjustable pliers can be incredibly helpful for gripping and manipulating wires or connectors, especially in tight spaces within the washer.
Having these basic tools at your disposal will empower you to effectively diagnose and resolve the F1 E4 error code. Remember, safety is paramount; always ensure that your washer is unplugged before you begin any repair work. This not only protects you but also prevents any further damage to the appliance. By following these guidelines, you’ll be well-equipped to tackle the issue confidently and efficiently.
Supplies
To effectively address the Whirlpool washer error code F1 E4, having the right supplies on hand is crucial. Here’s a comprehensive list to help you tackle this issue safely and efficiently.
- Multimeter: This tool is essential for testing the electronic components within your washer. It helps you verify whether components like sensors and control boards are operating correctly.
- Screwdrivers: A set of screwdrivers, including both Phillips and flathead types, will be necessary for accessing the internal parts of the washer. Make sure they are of good quality to avoid stripping screws.
- Soldering Iron: If you encounter any faulty connections that need repair, a soldering iron will allow you to make those fixes securely. Ensure you have solder and a steady hand for precise work.
- Replacement Parts: Depending on your diagnosis, having replacement parts ready can save you time. For the F1 E4 error, an EEPROM chip might be necessary, so consider having one on standby.
- Troubleshooting Guide: Keep a reliable troubleshooting guide or tips nearby. This can help you systematically diagnose the issue and ensure you don’t overlook any potential problems.
With these supplies, you’ll be well-prepared to not only address the error code but also enhance your understanding of the washer’s functionality. Remember, safety is paramount—always unplug the washer before beginning any repair work. By following these steps, you can confidently restore your washer to optimal performance.
Pre-Safety Checklist Before Fixing
Before you tackle the F1 E4 error code on your Whirlpool washer, it’s essential to prioritize your safety and that of your appliance. Taking the right precautions can significantly reduce the risk of electrical hazards. Here’s a straightforward checklist to ensure you’re fully prepared:
Prioritize safety before addressing the F1 E4 error on your Whirlpool washer to minimize electrical hazards.
- Unplug the Washer: Always disconnect the power supply before starting any repair work. This step is crucial to prevent the risk of electric shock.
- Check for Water Leaks: Carefully inspect the area around the washer for any signs of water leaks. A dry workspace is vital for your safety and will make the repair process smoother.
- Wear Safety Gear: Equip yourself with gloves and safety goggles. These items will protect you from any sharp edges and potential debris while you work on your appliance.
Diagnose the Error Code
To effectively diagnose the F1 E4 error code on your Whirlpool washer, let’s take a step-by-step approach that ensures your safety and empowers you to understand the issue better.
- Observe the Washer’s Behavior: Start by keenly observing how your washer operates. Listen for any unusual sounds, watch for error displays, or note if it stops unexpectedly during the cycle. These observations can provide valuable clues about what might be malfunctioning.
- Consult the User Manual: Your washer’s user manual will have a section dedicated to error codes. Referring to this will help you understand the specific implications of the F1 E4 code and what it could indicate regarding the system’s performance.
- Check Connections and Components: It’s crucial to inspect the connections and components inside your washer. Look for any loose wiring or damaged parts, particularly around the control board and wiring harness. A secure connection is vital for proper functionality.
- Use a Multimeter: If you’re comfortable using a multimeter, this tool is invaluable for testing electrical components. Measure voltage and continuity to ensure parts like the control board and sensors are operating as they should. This step can help you confirm whether components are functioning correctly or need replacement.
- Document Your Findings: As you troubleshoot, keep a detailed record of your observations and tests. This documentation can be very helpful if you need to consult with a professional technician later on.
Step-by-Step DIY Troubleshooting Guide
Next Steps for Resolving the F1 E4 Error Code
Fix for Cause 1
If your Whirlpool washer is displaying the F1 E4 error code, it’s important to address this issue quickly to avoid further complications. This error typically points to a problem with the EEPROM (Electrically Erasable Programmable Read-Only Memory), which is crucial for the control board’s operation. Here’s how you can tackle this issue effectively and safely:
- Perform an EEPROM Reset: Start by unplugging your washer from the power source. Leave it unplugged for at least 5 minutes. This action will reset the control board and may clear the error code.
- Inspect the Connections: After the reset, take a moment to check the wiring and connectors that lead to the memory chip. Look for any signs of damage, such as frayed wires or corrosion, which could disrupt the electrical connection.
- Consider Memory Chip Replacement: If the error persists after the reset and inspection, it may be necessary to replace the EEPROM. Refer to your washer’s manual for specific instructions regarding this process, or consult a professional technician if you’re unsure.
Taking these steps can help restore your washer to proper working order. Always prioritize safety by ensuring the appliance is unplugged before performing any inspections or repairs. If you’re ever in doubt, don’t hesitate to reach out to a qualified technician for assistance.
Fix for Cause 2
When dealing with the F1 E4 error code on your Whirlpool washer, it’s important to take a thorough approach to troubleshooting. One key area to inspect is the control board, which can sometimes harbor issues beyond just the EEPROM. To begin, ensure your safety by disconnecting the power to the washer. Once the power is off, carefully remove the control panel.
As you inspect the control board, look for any signs of visible damage, such as burnt components or loose connections. These can often be the culprits behind the error code. To assess the board’s functionality, I recommend using a multimeter to check for voltage and continuity. This diagnostic step will help you identify any faults that may be present.
If you do find any damaged components, it’s essential to source the appropriate replacement parts. I advise using OEM (Original Equipment Manufacturer) parts to ensure compatibility and maintain the washer’s performance.
Once you’ve replaced any defective parts, reassemble the control panel carefully. After reconnecting the power, run a wash cycle to see if the error code persists. If the issue is resolved, you can be confident that you’ve effectively addressed the problem. If not, further investigation may be needed. Remember, safety first, and don’t hesitate to seek professional help if you’re unsure.
Fix for Cause 3
When addressing the F1 E4 error code, it’s essential to take a close look at the wiring harness connected to the control board. A poor connection can often lead to issues with the EEPROM memory chip. Here’s a step-by-step guide to help you conduct a thorough inspection:
- Power Down: Safety first! Unplug the washer to eliminate any risk while you perform your inspection.
- Inspect Connections: Carefully remove the control board cover. Take a good look at the wiring harness for any signs of wear and tear, such as fraying, loose connections, or corrosion. These issues can disrupt the communication between components.
- Perform an EEPROM Reset: If everything appears to be in order, you may want to reset the EEPROM. To do this, disconnect the power for a few minutes, then plug it back in. This can sometimes clear minor glitches.
Fix for Cause 4
To effectively address the F1 E4 error code on your washer, it’s important to focus on the control board. First and foremost, ensure your safety by unplugging the washer from the power source. Next, you’ll need to access the control panel; this typically involves removing a few screws and carefully lifting the panel off.
Once you have access, take a close look at the control board for any visible signs of damage, such as burnt components or corrosion. These issues can indicate a malfunction that may be causing the error code.
Using a multimeter, check the connections on the board, paying special attention to the EEPROM chip, as this is often a common point of failure. If you detect any inconsistencies during your testing, it may suggest an issue with the EEPROM. In such cases, try reseating the chip—this means gently removing it and placing it back to ensure a good connection. If you see any physical damage to the EEPROM, you may need to replace it.
After making any necessary repairs, carefully reassemble the control panel, plug your washer back in, and run a test cycle to confirm that the issue has been resolved. Remember, always prioritize safety and don’t hesitate to consult with a professional if you’re unsure about any steps in the process. Your washer is an investment, and maintaining it properly can help extend its lifespan.
Call a Professional If
If you’ve attempted to troubleshoot your Whirlpool washer and the F1 E4 error code continues to appear, it may be time to reach out to a professional. Getting expert help ensures that you receive the appropriate solution, preventing further complications down the line. Here are three key situations where contacting a technician is advisable:
- Persistent Error Codes: If the F1 E4 error code returns after you’ve reset the machine several times and tried different fixes, it’s a sign that there may be a deeper issue at play.
- Strange Noises or Odors: If your washer starts emitting unusual sounds or smells—such as burning or electrical odors—this could indicate serious problems that need immediate attention.
- Signs of Component Failure: If you notice other components, like the control board or wiring, displaying signs of wear or malfunction, it’s crucial to have a professional assess the situation.
In these scenarios, a qualified technician can accurately diagnose the underlying issue, ensuring that your washer functions safely and efficiently. Don’t hesitate to seek professional assistance when you encounter these problems—it’s a proactive step towards maintaining the longevity of your appliance.