Dealing with the LG washer error code HE2 can be incredibly frustrating. This particular code usually indicates a problem related to the heating element or thermal fuse.
In simpler terms, it means that your washer is struggling to heat water properly, which can hinder its cleaning performance.
Rest assured, encountering this error is quite common, and many of its potential causes have straightforward DIY solutions that you can tackle at home.
One frequent culprit behind the HE2 error is an overheating motor, which can disrupt the heating process.
To fully understand this issue and discover all potential causes and solutions, we encourage you to read through the entire post.
We’ll guide you step-by-step on how to diagnose and fix this problem effectively!
What Does the Error Code Means?
When your LG washer displays the error code HE2, it signifies a problem with either the heating element or the temperature sensor. Understanding what this error means is crucial for effective troubleshooting. An HE2 error can hinder your washer’s ability to heat water properly, which in turn affects its overall washing performance.
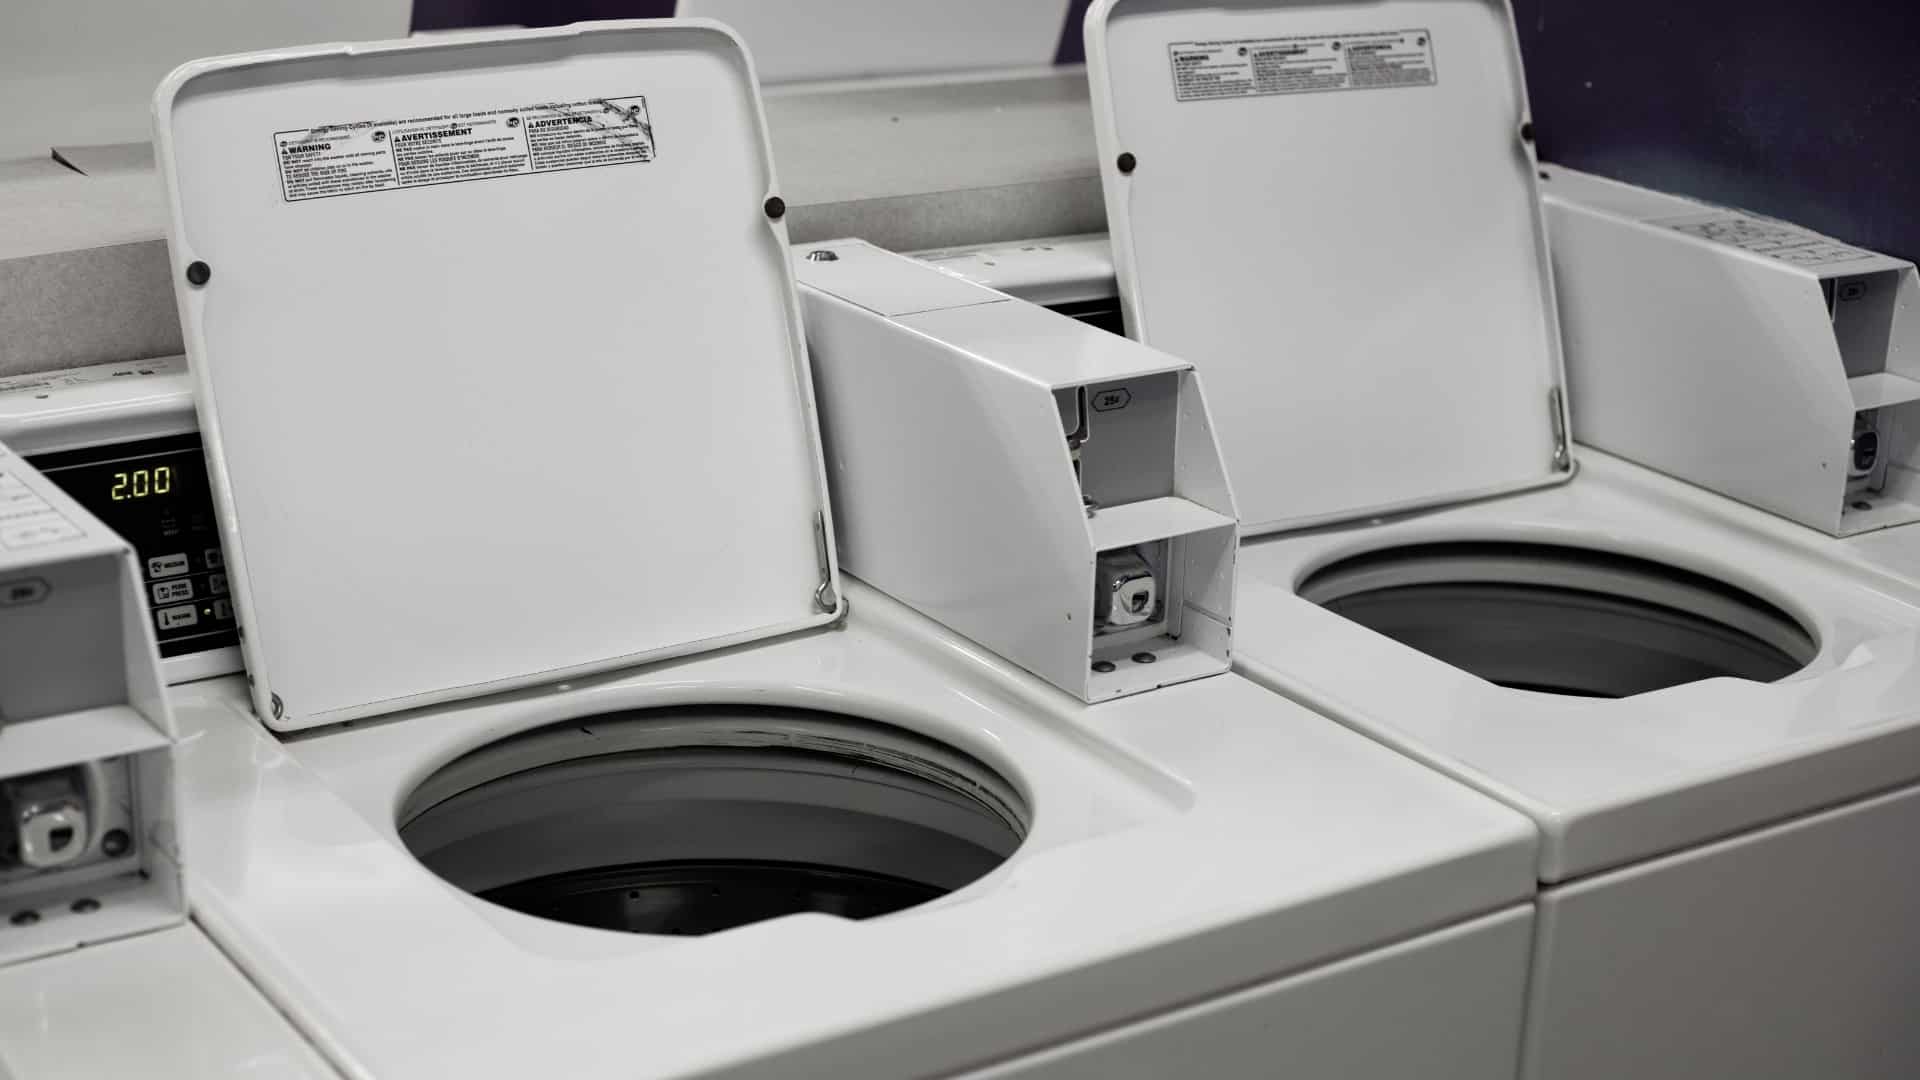
To start addressing this issue, first, ensure your safety by unplugging the machine. Then, inspect the wiring connections for any signs of wear or damage. Next, use a multimeter to check the heating element for continuity. If the heating element is faulty, it will need to be replaced to restore proper function. Additionally, take a closer look at the temperature sensor; a malfunctioning sensor can also trigger the HE2 error code. By focusing on these components, you can effectively resolve the issue and get your washer back in working order. Remember that a blown thermal fuse can also cause similar error codes, so it’s wise to check that component as part of your troubleshooting process.
Common Causes Behind Error Code
Identifying Common Causes of the HE2 Error Code
Common causes of the HE2 error code include a malfunctioning thermal fuse that can prevent the washer from heating properly, as well as a failing control board that mismanages heating cycles.
Overheating Motor Issue
While it may come as a surprise, an overheating motor is a frequent issue that can trigger the HE2 error code on your LG washer. This typically arises from inadequate thermal regulation within the motor itself. When the motor operates continuously or is subjected to an excessive load, it can produce more heat than its cooling systems can effectively manage. Consequently, this overheating may lead to the thermal fuse blowing as a safety measure.
Additionally, factors such as worn bearings or the accumulation of debris can hinder the motor’s performance, further contributing to heat buildup. To help prevent this issue, regular maintenance and ensuring that you do not overload your washer are key steps. In cases of persistent overheating, checking for communication issues between the motor and control unit can also be beneficial.
If you encounter the HE2 error code, it’s crucial to inspect the motor for any signs of overheating before exploring other potential causes. Taking these steps can help you address the problem effectively and keep your washer running smoothly. Remember, understanding your appliance and maintaining it properly can save you time and money in the long run.
Faulty Temperature Sensor
An overheating motor isn’t the only reason you might encounter the HE2 error code in your washer. A faulty temperature sensor can also lead to significant problems. When the temperature sensor isn’t calibrated correctly, it can give inaccurate readings of the water temperature. This misreading can disrupt your washer’s performance and trigger the HE2 error, indicating that the machine is unable to operate within safe temperature limits.
To address this issue, you may need to calibrate the temperature sensor or, in certain situations, replace it altogether. Performing regular maintenance on your washer can help prevent these types of problems and ensure that your appliance runs efficiently. Additionally, a malfunctioning pressure switch can also contribute to incorrect temperature readings.
If you suspect that the temperature sensor is faulty, I encourage you to consult your user manual for guidance. Additionally, it may be wise to seek assistance from a professional technician who can provide a proper diagnosis and repair. Remember, safety is paramount, so don’t hesitate to get help if you’re unsure how to proceed.
Worn-Out Door Latch Assembly
A worn-out door latch assembly can indeed trigger the HE2 error code in your LG washer. When the door latch isn’t working properly, it may fail to secure the door during operation, which can cause the washer to stop and display this error. Over time, wear and tear on the latch assembly can lead to misalignment or damage, making it difficult for the latch to engage correctly. This misalignment is interpreted by the washer as a safety concern, prompting the HE2 code to appear.
To address this issue, it’s important to inspect the door latch for any signs of wear, such as cracks, stiffness, or any unusual resistance when opening and closing the door. If you find any damage, replacing the latch assembly is the best course of action to restore proper function and eliminate the error code. Additionally, issues with the door latch mechanism can sometimes be traced back to faulty wiring or control board malfunctions.
Regular maintenance plays a crucial role in preventing such issues. Periodically checking the door latch and ensuring it is clean and free of debris can help prolong its lifespan. Additionally, always make sure the door is fully closed during operation to avoid triggering safety mechanisms like the HE2 error. By staying proactive with these checks, you can keep your washer running smoothly and efficiently.
Blocked Ventilation System
While issues with the door latch assembly can trigger the HE2 error code, it’s important to recognize that a blocked ventilation system can also have a significant impact on your LG washer’s performance. When airflow is restricted, it can lead to overheating, which may cause the thermal fuse to blow. To prevent these problems, regular ventilation maintenance is key.
Start by checking the venting duct for any obstructions. It should be clear of lint, debris, or any other blockages that can impede airflow. Next, inspect the washer’s air intake to ensure it is also free from any clogs. Maintaining clear pathways for air circulation not only enhances the efficiency of your washer but also minimizes the risk of encountering the HE2 error code. Additionally, understanding the importance of regular maintenance can help prevent overheating issues in the first place.
Addressing ventilation issues promptly is essential for keeping your appliance running smoothly. If you find any blockages during your checks, take the necessary steps to clear them, as this will help prolong the life of your washer and improve its overall performance. Remember, routine maintenance can make a world of difference in how your appliance operates.
Required Tools to Fix the Error
Preparing for the Repair Process
Error code HE2 may indicate a blown thermal fuse; therefore, ensuring you have the right tools is crucial for resolving the issue. Additionally, circuit testing is essential before considering any component replacements to confirm the source of the problem.
Basic Tools
Fixing the HE2 error on your LG washer requires a few essential tools to ensure a smooth troubleshooting process. As a seasoned appliance repair technician, I recommend starting with a basic toolkit that includes a multimeter. This handy device will allow you to test the electrical components of your washer for continuity, helping to pinpoint the source of the problem.
Next, a socket set is invaluable for easily removing screws or bolts that secure the washer’s panels. It’s important to have the right sizes on hand to avoid stripping screws, which can complicate repairs. You’ll also need both a flathead and Phillips screwdriver to access various internal parts of the washer safely and effectively.
Additionally, keep a pair of pliers nearby. They can be useful for gripping and manipulating wires or connectors, especially in tight spaces where your fingers may not fit.
If you don’t already possess these essential tools, I highly recommend investing in them before you begin your repair journey. Having the right equipment not only optimizes the troubleshooting process but also enables you to resolve the HE2 error efficiently and with confidence. Remember, safety first—always disconnect your washer from the power source before starting any repairs. With the right tools and precautions, you’ll be well-equipped to tackle this issue. It’s also wise to consider using surge protectors to maintain a stable voltage supply and prevent future issues.
Supplies
When tackling the HE2 error on your LG washer, having the right supplies is essential for a successful repair. First, gather your basic repair tools: a set of screwdrivers, pliers, and a multimeter. These tools will enable you to access and diagnose the internal components of your washer effectively.
One of the most common culprits behind the HE2 error is a faulty thermal fuse. Therefore, it’s vital to have a replacement thermal fuse on hand. Make sure that the replacement part matches your washer’s model specifications to avoid any compatibility issues.
Additionally, it’s wise to have electrical tape and wire connectors ready for securing any wiring you may need to work on. These supplies will ensure that all connections are safe and reliable. Moreover, always remember to check for EEPROM memory communication issues as they can sometimes lead to similar error codes in different washer models.
With these tools and parts at your disposal, you’ll be well-prepared to troubleshoot and resolve the HE2 error efficiently. This preparation will get your washer back to its optimal working condition in no time. Remember, safety is paramount, so always disconnect the power supply before starting any repairs.
Pre-Safety Checklist Before Fixing
Before you start any repairs on your LG washer, it’s crucial to complete a comprehensive pre-safety checklist. Prioritizing safety ensures your well-being and helps you work more effectively. Here’s a detailed checklist to guide you through this vital step:
- Unplug the Washer: Always disconnect the power supply from the outlet. This prevents any risk of electrical shock while you work on the appliance.
- Inspect for Leaks: Carefully examine all hoses and connections for signs of water leakage. Any leaks can create slip hazards, so it’s essential to address these before proceeding.
- Wear Protective Gear: Equip yourself with gloves and safety glasses. This protective gear shields you from sharp edges, potential debris, and any accidental spills that may occur during repairs.
- Check the Washer Installation: Ensure that the washer is level to avoid drainage issues, as an overloaded washing drum can lead to further complications during repairs.
Diagnose the Error Code
To effectively address the HE2 error code on your LG washer, it’s crucial to diagnose the underlying issue with care and precision. Begin by employing some straightforward diagnostic techniques to uncover any potential faults. First, visually inspect the wiring and connections for any signs of damage. Damaged wiring can lead to overheating, which often triggers the HE2 code.
Next, take a moment to test the thermal fuse using a multimeter. This is a vital step; if the thermal fuse is blown, it must be replaced to restore proper functionality. After that, check the washer’s components, such as the motor and control board, for any irregularities. Look for any burnt components or loose connections that might indicate a deeper issue.
Utilizing these troubleshooting methods will help you accurately pinpoint the cause of the error code. Remember, an accurate diagnosis is essential for effective repair. By following these steps, you can ensure your washer returns to peak performance without recurring issues. Always prioritize safety and consult your washer’s manual for specific guidance related to your model.
Step-by-Step DIY Troubleshooting Guide
Troubleshooting Steps for HE2 Error Code
Replace Thermal Fuse Assembly
Replacing the thermal fuse assembly in your LG washer can be a rewarding DIY project, especially if you’re looking to restore functionality and eliminate the frustrating error code HE2. Let’s walk through the process step by step, ensuring safety and clarity along the way.
Step 1: Unplug Your Washer****
Before you begin any repair work, safety is paramount. Unplug your washer from the electrical outlet to prevent any risk of electric shock.
Step 2: Locate the Thermal Fuse****
The thermal fuse is typically situated near the control board of your washer. Depending on your model, you may need to remove the back panel or the top cover to access it. Consult your user manual for specific guidance on your model.
Step 3: Remove the Cover****
Once you’ve identified the fuse’s location, carefully remove any screws that hold the cover in place. Gently pull the cover off to expose the internal components.
Step 4: Disconnect the Old Fuse****
With the cover removed, locate the thermal fuse. It’s important to test the fuse to confirm it is blown before replacing it. You can do this using a multimeter set to the continuity setting. If the meter does not beep or show continuity, the fuse is indeed blown and needs replacing.
Step 5: Install the New Thermal Fuse****
Take your new thermal fuse and connect it in place of the old one. Ensure that the connections are secure and that the fuse is seated properly to guarantee a snug fit. Loose connections can lead to further issues down the line.
Step 6: Replace the Cover****
Once the new fuse is in place, carefully put the cover back on and secure it with the screws you removed earlier. Make sure everything is aligned properly to avoid any future complications.
Step 7: Plug in and Test the Washer
After you’ve reassembled everything, plug your washer back into the outlet. It’s now time to run a test cycle. Monitor the washer for any signs of the error code reappearing. If the code has cleared, congratulations! You’ve successfully replaced the thermal fuse.
Final Thoughts:
If the error code HE2 persists even after replacing the thermal fuse, this could indicate a problem with other components, such as the control board or wiring. In that case, further investigation may be necessary. Don’t hesitate to reach out for professional assistance if you’re unsure.
Replace Faulty Temperature Sensor
Diagnosing and replacing a faulty temperature sensor in your LG washer is vital for resolving the HE2 error code and ensuring optimal performance. Let’s walk through this process step-by-step.
First, it’s important to identify the type of temperature sensor used in your specific LG washer model—this is typically a thermistor. Before you begin, make sure to disconnect the washer from power to ensure your safety.
Next, you’ll need to access the temperature sensor. It is usually located near the drum of the washer. Carefully remove any screws or clips that hold it in place, and gently disconnect the wiring harness attached to the sensor. Take a moment to note the arrangement of the wires; this will help you during the reinstallation.
When installing the new sensor, follow these key installation tips:
- Ensure Proper Alignment: Make sure the new sensor is properly aligned in the mounting area.
- Secure All Connections: Firmly reconnect the wiring harness, ensuring that it is securely attached to prevent any loose connections.
- Double-Check for Loose Wires: Before closing everything up, check that there are no loose wires or connections that could cause issues later.
Once the new sensor is in place, restore power to the washer and run a test cycle. Monitor the washer’s operation to confirm that the HE2 error code has been resolved. If everything is functioning correctly, your washer should operate efficiently again.
Replace Worn Door Latch
A worn door latch in your LG washer can lead to significant operation issues, so it’s essential to address this problem as soon as you notice it. Let’s walk through the steps to replace the door latch safely and effectively.
Step 1: Safety First****
Before you begin any repair work, unplug your washer. This is a crucial step to ensure your safety while working on the appliance.
Step 2: Inspect the Door Latch
Open the washer door and carefully inspect the door latch. Look for signs of wear, damage, or any obstructions that could affect the latch’s operation. If you notice any issues, it’s time to proceed with the replacement.
Step 3: Remove the Old Latch
To remove the worn latch, you will need to take out the screws that secure the latch assembly. Using a suitable screwdriver, carefully unscrew and detach the old latch from the door.
Step 4: Install the New Latch
Once the old latch is removed, align the new latch with the existing screw holes in the door. It’s important to ensure that the latch is positioned correctly to guarantee smooth operation. Secure the new latch in place by tightening the screws.
Step 5: Test the Installation
After installing the new latch, check its operation. Close the door and ensure that it latches securely and opens smoothly. Make sure there are no misalignments that could cause it to malfunction.
Step 6: Final Checks****
Plug the washer back in and run a short test cycle to confirm that the door latch works properly during operation. Pay attention to how the washer responds when the door is closed and ensure there are no error codes or issues.
Clear Obstructions From Vents
To keep your LG washer operating at its best, it’s essential to clear any obstructions from the vents. Blockages can cause overheating and lead to inefficient performance. Safety is paramount, so begin by unplugging the washer to ensure you’re working safely.
Next, locate the venting system, typically found at the back of the machine. Carefully inspect the vent for any lint, debris, or other blockages that could restrict airflow. A vacuum or a vent cleaning brush can be very effective for removing these obstructions. Once you’ve cleared out the vent, take a moment to check the ductwork for any kinks or damage that might be hindering airflow.
After cleaning, reassemble any parts you may have removed, ensuring they are secured properly. Once everything is back in place, plug the washer back in and run a test cycle. This will help confirm whether the vent cleaning resolved any issues.
Call a Professional If
If you’ve tried troubleshooting the HE2 error code on your LG washer and haven’t had any luck, it may be time to call in a professional. Understanding when to repair or replace components is crucial for your appliance’s longevity and performance.
If you’re experiencing ongoing issues, such as your washer not spinning or failing to heat, these could indicate that components like the thermal fuse or other related parts need replacement. A qualified technician can accurately diagnose the problem, ensuring you avoid wasting time and money on unnecessary repairs. They have specialized tools and access to parts that may not be easily available to you.
It’s essential to prioritize the safety and efficiency of your appliance. Attempting to fix complex issues without the right expertise can lead to further damage. If your troubleshooting efforts haven’t resolved the situation, don’t hesitate to reach out to a professional. This will not only save you from potential headaches but also provide you with peace of mind. Make the call when those troubleshooting steps fall short; it’s a smart investment in your appliance’s future.