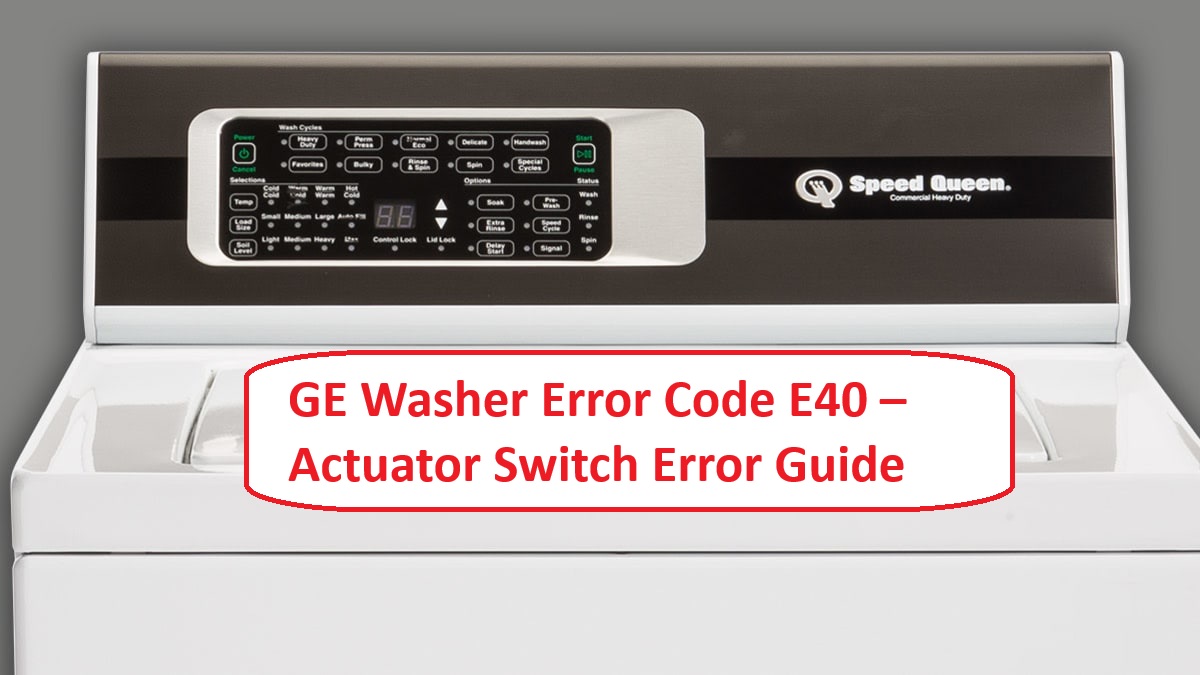
Dealing with a malfunctioning washer can be incredibly frustrating, especially when you’re faced with error code E40. This specific code indicates a problem with the door lock or actuator switch, which essentially means your washer can’t confirm that the door is securely closed.
You’re not alone in facing this issue—it’s a common problem, and many causes have straightforward DIY solutions.
One frequent culprit behind the E40 error is a faulty door latch, which can prevent the door from locking properly. To get a complete understanding of this error and to uncover other potential causes and solutions, we encourage you to read through the entire post.
By doing so, you’ll be equipped with the knowledge you need to troubleshoot and resolve the issue efficiently.
What Does the Error Code Mean?
When your GE washer shows the error code E40, it usually points to a door lock issue. This means the washer’s door isn’t securely locked, which prevents the unit from starting or running correctly. Start by checking if the door is firmly closed. If it appears closed but the error persists, you may have a problem with the door latch or the actuator switch.
The E40 error on your GE washer indicates a door lock issue, preventing proper operation. Ensure the door is securely closed.
Here are some steps to troubleshoot the issue:
- Inspect the Door Lock: Look for any visible damage or obstruction around the door lock. Sometimes, debris can prevent the lock from engaging properly.
- Check Electrical Connections: Ensure that the electrical connections to the door lock mechanism are secure and show no signs of corrosion. Loose or corroded connections can disrupt the locking mechanism.
- Test the Door Latch: If you’re comfortable doing so, you can test the door latch with a multimeter to ensure it’s functioning correctly. A faulty latch will need to be replaced.
If these steps don’t resolve the issue, I recommend consulting your user manual for specific troubleshooting tips related to your model. Alternatively, contacting a qualified technician can provide you with the expertise needed to diagnose and fix the problem safely.
Addressing the E40 error promptly is crucial for maintaining your washer’s performance and ensuring it operates efficiently and safely.
Common Causes of the Error Code
Identifying the Root Causes of GE Washer Error Code E40
Cause 1
One common cause of the GE washer error code E40 is a malfunctioning door latch or door lock assembly. When the door latch fails, the washer may not be able to confirm that the door is securely closed, which leads to this error code.
To begin troubleshooting, carefully inspect the door lock assembly for any signs of wear or damage. Look for cracks or breaks that could affect its functionality. Additionally, take a look at the wiring harness connected to the door lock. It’s important to check for any frayed wires or loose connections, as these can interrupt communication between the door latch and the motor assembly, ultimately triggering the E40 error.
Make sure that all connections are secure and that there are no visible issues with the wiring. If you find any damaged components, replacing the door lock assembly is a reliable solution to restore your washer to proper working order. Remember to always prioritize safety by unplugging the washer before performing any repairs.
Cause 2
In addition to a malfunctioning door latch, another common cause of the GE washer error code E40 is related to the door sensor. This essential component ensures that the washer door is tightly closed, which is critical for the drum to operate safely and effectively. If the door sensor is faulty or misaligned, it may incorrectly signal the control panel, resulting in the E40 error code.
You might find that the washer won’t start or complete its cycle, even if the door seems securely closed. To troubleshoot this issue, first, inspect the wiring and connections of the door sensor. Ensure that the sensor is properly aligned and free from any debris, as these factors can hinder its performance and impact the overall functionality of your washer. By taking these steps, you can help ensure that your washer operates smoothly and reliably.
Cause 3
One possible cause of the GE washer error code E40 is a malfunctioning control board. Think of the control board as the brain of your washer; it oversees functions like selecting wash cycles and communicating with the actuator switch. If the control board becomes damaged or faulty, it may send incorrect signals, which can trigger this error code.
To start troubleshooting, carefully inspect the control board for any visible signs of damage, such as burned areas or loose connections. If you notice any irregularities, it may be time to replace the board. Additionally, check the wiring harness connected to the control board to ensure it’s intact and securely connected. Poor connections can also lead to issues like this.
Cause 4
If you’re facing the GE washer error code E40 and suspect it might not be due to a faulty control board, there are several other potential culprits to consider. Understanding these common causes can help you diagnose the issue more effectively. Here’s a straightforward overview:
| Cause | Symptoms | Repair Steps |
|---|---|---|
| Faulty actuator switch | Washer won’t start | Inspect the actuator switch for faults and replace it if necessary. |
| Wiring issues | Intermittent errors | Examine the wiring connections for any signs of damage or loose connections, and repair as needed. |
| Door latch malfunction | Door won’t lock | Test the door latch assembly for proper operation and replace it if it’s defective. |
Addressing these potential issues involves specific repair steps that can help you resolve the E40 error effectively. By taking a methodical approach to diagnosis and repair, you can restore your washer’s functionality safely and efficiently. Remember to always prioritize safety when working on your appliances, and if you’re unsure, don’t hesitate to consult with a professional technician.
Required Tools to Fix the Error
Essential Tools for GE Washer Repair
Basic Tools
When you encounter the GE washer error code E40, having the right tools at your disposal is crucial for a successful resolution. Proper tools not only make the process smoother but also ensure your safety while troubleshooting. Here’s a list of the essential basic tools you’ll need:
| Tool | Purpose | Importance |
|---|---|---|
| Screwdriver | Remove panels | Allows access to internal components |
| Multimeter | Test electrical connections | Helps diagnose actuator and wiring issues |
| Pliers | Grip and manipulate parts | Useful for securing loose connections |
| Flashlight | Illuminate dark areas | Ensures visibility during repairs |
Equipping yourself with these tools will prepare you to effectively address the E40 error code. Before you dive into troubleshooting, take a moment to gather these items. Remember, safety is paramount, so always disconnect your washer from the power source before beginning any repairs.
Supplies
To effectively address the E40 error code in your GE washer, having the right supplies is crucial. Here’s a straightforward list to help you get started:
- Multimeter: This tool is essential for testing the actuator switch and checking the water supply connections. It will help you determine whether these components are functioning properly.
- Screwdriver Set: You’ll need a variety of screwdrivers to access the internal parts of your washer. Make sure you have both Phillips and flathead options available.
- Pliers: A good pair of pliers can be invaluable when dealing with stubborn hose connections. They provide the grip needed to loosen or tighten fittings securely.
- Replacement Parts: If you find that the actuator switch is faulty, ensure you have a compatible replacement part on hand. It’s always best to refer to your washer’s manual or part specifications to get the correct component.
- Towel or Cloth: Keep a towel nearby to catch any water that may spill during the repair process. This will help you maintain a clean workspace and avoid slipping hazards.
- Small Container: Having a small container to catch any residual water from the hoses can help prevent messes and keep your repair area tidy.
Pre-Safety Checklist Before Fixing
Before you begin troubleshooting the GE washer and addressing the E40 error code, it’s important to perform a comprehensive pre-safety checklist to ensure a safe working environment. Here are some essential safety precautions to follow:
- Unplug the Washer: Always disconnect the power supply from the washer. This is a crucial step to prevent any risk of electrical shock while you work on the machine.
- Shut Off Water Supply: Turn off the water supply to the washer. This helps avoid any potential leaks or flooding during your repairs, allowing you to work with peace of mind.
- Inspect Your Tools: Before you start, take a moment to check your tools and equipment for any signs of damage or wear. Using faulty tools can pose safety risks and hinder your repair efforts.
- Clear the Workspace: Ensure that the area around the washer is free of clutter. A clean workspace not only promotes safety but also gives you the necessary room to maneuver comfortably as you troubleshoot the appliance.
Diagnose the Error Code
Once you’ve completed your safety checklist, it’s time to tackle the E40 error code in your GE washer. Start by closely monitoring how your machine operates. This observation is crucial in identifying any patterns related to the E40 code, especially if it occurs consistently during certain wash cycles. Such patterns can often point to issues with the actuator switch or its connections.
Next, pay attention to the signals displayed on the control panel. If you notice any additional error codes appearing alongside E40, make note of them, as they can provide valuable insights into the problem.
To further investigate, grab a multimeter and test the actuator switch for continuity. This step will help you determine whether the switch is functioning properly. Additionally, take a moment to inspect the wiring and connectors connected to the actuator switch. Look for signs of damage, wear, or corrosion, as these can interfere with communication between components.
Step-by-Step DIY Troubleshooting Guide
Moving Forward with Troubleshooting Steps
Fix for Cause 1
If your GE washer is showing the E40 error code, it typically points to a problem with the door lock mechanism. Don’t worry, though! With my 20 years of experience in appliance repair, I’m here to guide you through some straightforward troubleshooting steps to help you tackle this issue safely.
- Unplug the Washer: Your safety is the top priority! Before you start working on your washer, make sure to disconnect it from the power source to prevent any electrical hazards.
- Inspect the Door Lock: Take a close look at the door lock mechanism. Look for any obvious signs of damage or any debris that might be blocking its operation. Sometimes, a simple cleaning can resolve the issue.
- Test the Switch: If the door lock looks good, the next step is to check the door lock switch. Use a multimeter to test its functionality. A properly functioning switch should show continuity when engaged. If it’s faulty, you’ll need to replace it.
- Reconnect and Test: After addressing any issues, plug the washer back in and run a short cycle. Keep an eye out for the E40 error code to see if it reappears.
Fix for Cause 2
If you’ve already checked the door lock mechanism and switch but are still seeing the E40 error code, there could be another issue at play. A common cause of this error is a faulty actuator. Let’s go through the steps to diagnose and potentially replace it.
First, for your safety, unplug the washer from the electrical outlet. Next, you’ll need to locate the actuator, which is typically situated on the door latch assembly. Using a multimeter, perform an electrical test on the actuator to check for continuity. If the actuator does not pass this test, it likely needs to be replaced.
To remove the defective actuator, carefully unscrew it and disconnect the wiring harness attached to it. When installing the new actuator, make sure all connections are secure and properly aligned. After everything is back in place, plug the washer back in and run a test cycle to see if the E40 error code has been resolved.
Fix for Cause 3
While you may have resolved the actuator issue, it’s important to consider that the E40 error code could also stem from problems with the door latch assembly itself. Let’s walk through some effective maintenance steps to troubleshoot this potential cause:
- Unplug the washer: Safety is paramount! Before starting any inspection or repair, ensure that the washer is disconnected from the power source.
- Inspect the door latch: Look closely for any signs of visible damage or wear on the latch assembly. Pay attention to any cracks or misalignments that could affect its operation.
- Test the latch mechanism: Using a multimeter, check the latch’s functionality. When the latch is engaged, it should show continuity. If it doesn’t, this indicates that the latch may be defective.
- Replace if necessary: Should you find that the latch is indeed malfunctioning, it’s time to order a replacement part. Follow the manufacturer’s instructions carefully for the installation to ensure everything is reassembled correctly.
Fix for Cause 4
Addressing the door latch assembly is an essential step in troubleshooting the E40 error code on your GE washer. Before you begin, safety is paramount, so unplug the washer to eliminate any risk of electric shock.
Start by carefully inspecting the door latch for any signs of damage or wear. If the latch is loose, tighten the screws that hold it in place. Should you find the latch is broken, replacing it with a new part is necessary for proper function.
Next, examine the wiring connected to the latch assembly. Look for any frayed wires or disconnections, as these issues can interfere with how the washer interprets error codes. If you notice any loose wires, reconnect them securely.
To test the door latch, firmly close the door and run a short cycle. Monitor whether the E40 error code reappears. Regular maintenance is crucial for your washer’s longevity, so take a moment to clean around the latch area to prevent future problems.
If the error code persists after these steps, further inspection may be required, possibly involving the control board or other components. Remember, taking a methodical approach will help you identify the root cause of the issue and ensure your washer operates smoothly.
Call a Professional If
If you’re facing the GE washer error code E40 and your attempts at basic troubleshooting have not resolved the issue, it may be time to call in a professional. Getting expert help ensures a thorough diagnosis and repair, especially if your washer is still under warranty. Here are four clear signs that you should consider reaching out to a qualified technician:
- All troubleshooting steps have been exhausted: If you’ve followed all the recommended solutions without any success, it’s a good indicator that the problem may be more complex than a simple fix.
- Visible damage to the actuator switch: If, upon inspection, you notice that the actuator switch looks worn, damaged, or malfunctioning, it’s best to let an expert handle it. This component is crucial for the proper function of your washer.
- Unusual sounds or odors: If your washer is making strange noises or emitting odd smells during operation, these could be signs of serious mechanical issues. Ignoring these symptoms could lead to further damage.
- Warranty coverage: If your washer is still under warranty, seeking professional help can be a cost-effective choice. Most warranties cover repair costs, allowing you to get your appliance back in working order without additional expenses.
Don’t risk causing further damage to your appliance. Professional technicians possess the necessary expertise and tools to diagnose and resolve complex issues safely and efficiently. Remember, your safety and the longevity of your appliance should always come first.