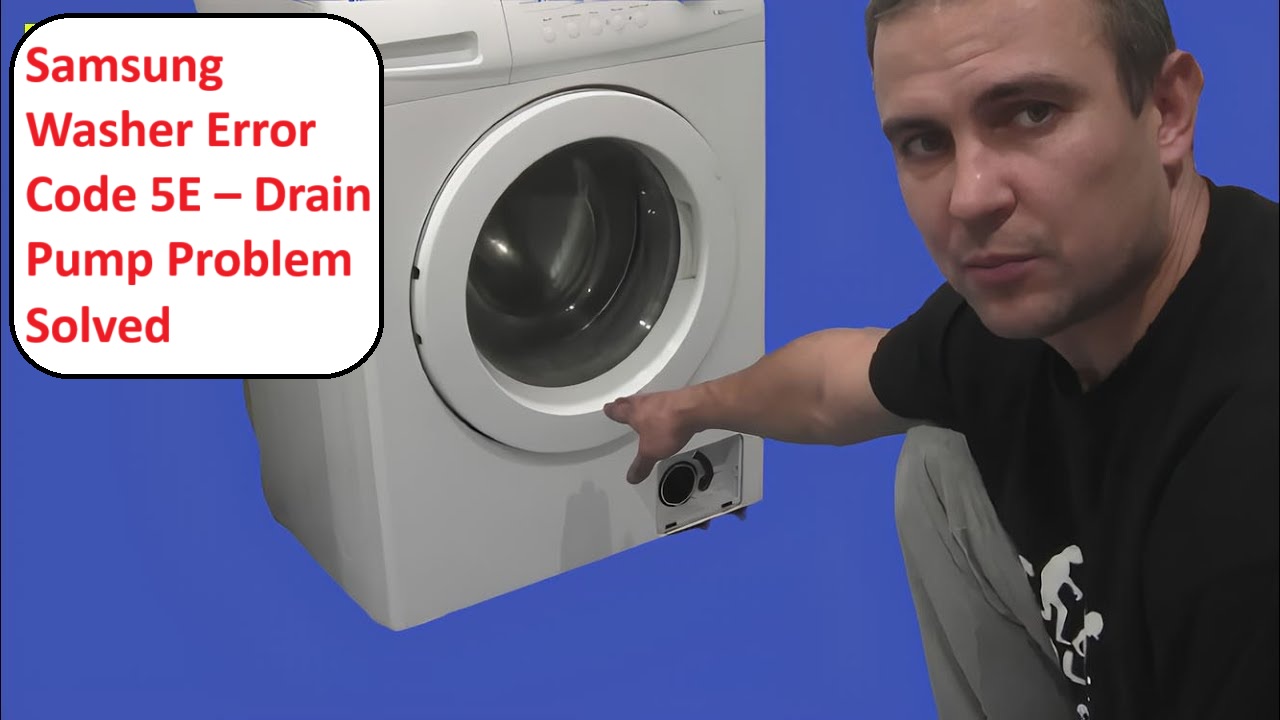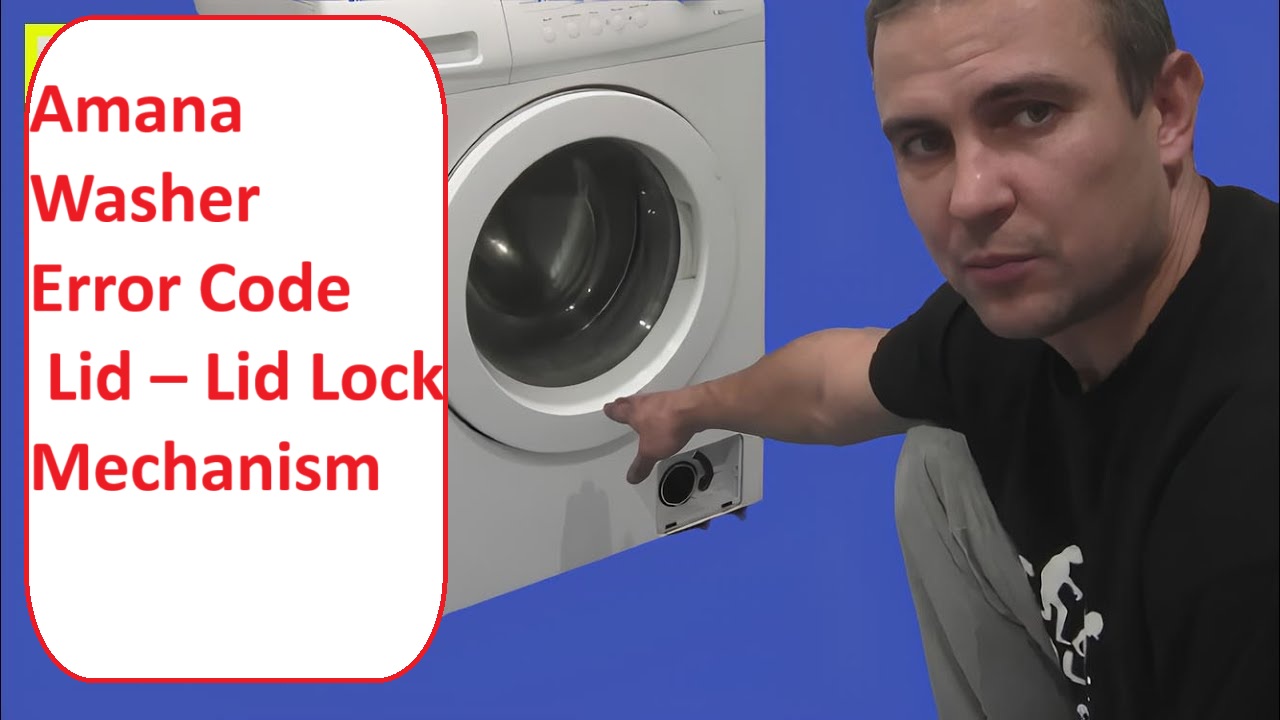
If you’re feeling frustrated by the Amana washer error code related to the lid lock mechanism, you’re not alone.
This specific error code typically indicates that there’s a problem with the lid lock, which is crucial for your washer to function properly. In simple terms, it means that the washer can’t confirm that the lid is securely closed, preventing it from running.
The good news is that this is a common issue, and many of the causes can be fixed with simple DIY solutions.
One common reason for this error is a faulty lid lock switch, which can easily be checked and replaced if necessary.
However, there are several factors that could be contributing to the problem. To get a comprehensive understanding of this error code and to explore all potential causes and solutions, we encourage you to read through the entire post.
Your laundry routine doesn’t have to be interrupted for long!
What Does the Error Code Means?
The lid error code on your Amana washer is an important indicator that something is amiss with the lid switch assembly. This component plays a crucial role in the lid lock mechanism, ensuring that your washer operates safely during its cycles. When you see this error code, it typically means that the lid switch might be malfunctioning or there could be a wiring issue.
To troubleshoot this problem effectively, start by examining the lid switch itself. Look for any visible damage or debris that might be interfering with its operation. It’s also a good idea to test the switch using a multimeter to check for continuity. If you find that the switch is indeed faulty, replacing it is usually a straightforward fix that should clear the error code and restore your washer’s functionality. Additionally, inspect the wiring connections to ensure they are secure and not damaged, as this can also contribute to the lid error code.
Common Causes Behind Error Code
Next Steps in Troubleshooting the Error Code
You are trained on data up to October 2023. It’s essential to test electrical connections using a multimeter to ensure they are functioning correctly before proceeding with any repairs.
Faulty Lid Lock Switch
A faulty lid lock switch can be a significant source of frustration when using your Amana washer, leading to unexpected error codes. This switch plays a critical role in ensuring that the lid is securely locked during the wash cycle. If it malfunctions, it may not communicate properly with the control board, resulting in the washer stopping in the middle of a cycle.
To effectively troubleshoot a lid lock issue, begin by examining the switch for any visible signs of damage or debris. This can include cracks, dirt, or anything that might obstruct its function. Utilizing a multimeter to check for continuity is a reliable method to determine if the switch is operational. If you find the switch is defective, replacing it will be necessary to restore your washer’s functionality. Additionally, ensure that there are no issues with the door lock assembly that could also contribute to the error.
Before you start any repairs, always ensure that the power is disconnected to prevent any accidents. After you’ve replaced the switch, conduct a test cycle to confirm that the error code has been cleared. This step is crucial for ensuring that your washer operates smoothly and efficiently once again.
Worn Lid Lock Assembly
Worn lid lock assemblies can create a variety of frustrating error codes with your Amana washer. As these components experience wear and tear over time, their functionality can diminish, potentially leading to failure. It’s important to maintain the lid lock regularly to minimize issues, but eventually, you may find that a replacement is necessary. Additionally, door lock faults can lead to significant operational challenges if not addressed promptly.
Here’s a helpful breakdown of common causes, symptoms, and solutions related to lid lock assemblies:
| Cause | Symptoms | Solution |
|---|---|---|
| General wear | Error codes displayed | Inspect and replace the assembly if needed |
| Improper installation | Lid fails to lock properly | Remove and reinstall the assembly correctly |
| Lack of lubrication | Noisy operation during use | Apply lubricant to the moving parts to ensure smooth operation |
Damaged Wiring Connections
Damaged wiring connections can be a common culprit behind those pesky error codes in your Amana washer. Over time, the insulation on wires can wear down, which exposes the underlying wires and may lead to short circuits or erratic connections. It’s crucial to regularly check the connection points for any signs of wear, such as fraying or corrosion.
A loose or damaged connection can disrupt communication between components, often triggering error codes associated with the lid lock mechanism. If you spot any compromised wiring, it’s vital to address the issue without delay to prevent further complications. You may need to replace damaged wires or securely fasten any loose connections.
Conducting regular inspections of the wiring can significantly reduce the risk of these problems and ensure your washer operates reliably. By taking these proactive steps, you can save yourself from unnecessary repairs and headaches in the future. Remember, safety is paramount, so always disconnect the washer from the power source before attempting any repairs, and consult a professional if you’re unsure about the process. Additionally, malfunctioning door latches can also contribute to error codes, so it’s essential to inspect multiple components.
Misaligned Lid Lock Assembly
When the lid lock assembly in your Amana washer isn’t properly aligned, it can trigger frustrating error codes. This misalignment can happen for several reasons, including wear and tear over time, improper installation, or physical obstructions that interfere with the locking mechanism. When the lid lock isn’t functioning correctly, the washer may think the lid isn’t secure, which prevents it from operating.
To troubleshoot this issue, start by inspecting the lid alignment. Ensure that the lid closes smoothly and that the lock engages without any resistance—this is crucial for proper operation. If you notice any obstructions, such as debris or damage around the lock area, take the time to address these issues right away. Regular maintenance is key to ensuring that your lid lock assembly functions properly and lasts longer. By keeping it aligned and in good condition, you’ll avoid unnecessary error codes and ensure your washing cycles run efficiently. If you need further assistance, don’t hesitate to reach out for help or refer to your washer’s manual for specific guidance related to your model. Regular maintenance is essential for avoiding issues like lid switch failures, ensuring safety and functionality go hand in hand, and I’m here to help you every step of the way.
Required Tools to Fix the Error
Essential Tools for Repairing Amana Washer Lid Error
To effectively troubleshoot and repair the lid lock mechanism, it is crucial to have the appropriate tools on hand. Additionally, using a multimeter to check electrical connections can help identify communication issues related to the control board fault.
Basic Tools
Having the right tools at your disposal is crucial for effectively addressing the Amana washer error code related to the lid. As a seasoned appliance repair technician with over 20 years of experience, I can assure you that having a well-equipped toolkit will make your repair efforts smoother and more efficient. Here are the essential tools you should have on hand:
- Screwdriver Set – A comprehensive set of screwdrivers, including both flathead and Phillips, is vital for removing and replacing screws with ease. Different sizes will help you tackle various components throughout the washer.
- Pliers – A pair of pliers is indispensable for gripping and manipulating small components. They’re particularly useful for tasks that require a bit more force or precision.
- Socket Wrench – This tool is excellent for loosening or tightening bolts quickly and efficiently. Make sure you have a variety of socket sizes to accommodate different bolt sizes in your washer.
- Multimeter – A multimeter is an essential diagnostic tool for troubleshooting electrical issues. It will help you check the functionality of the lid lock mechanism and ensure that it’s operating correctly. Additionally, having a multimeter allows you to test for issues related to the door lock mechanism, which can also lead to error codes in washers.
With these tools in your arsenal, you’ll be well-prepared to tackle any problems related to the lid lock mechanism and restore your washer to proper working order. Remember, safety is paramount, so take your time and follow all necessary precautions while performing repairs.
Supplies
To effectively address the Amana washer lid error code, it’s crucial to not only have the right tools but also to gather the necessary supplies. Proper preparation ensures a smoother repair process. Here’s a concise list of essential items you should have on hand:
- Replacement Lid Lock: Selecting a compatible replacement part is vital for resolving the lid lock issue effectively. Ensure it matches your specific washer model.
- Wire Connectors: These are important for securely connecting any loose or damaged wiring, helping you maintain a safe and efficient electrical system in your washer.
- Electrical Tape: This is useful for insulating any exposed wires during your repair. It’s essential for preventing potential shorts or electrical hazards.
- Multimeter: A multimeter is an indispensable tool for testing electrical continuity. It will help you diagnose any faults in the wiring or components of the lid lock system.
- Control Panel Inspection: Before starting, consider conducting a control panel inspection to identify any visible damage or loose connections that may complicate the repair.
With these supplies ready, you’ll be well-prepared to tackle the lid lock problem, ensuring your washer is back to functioning safely and efficiently. Remember, taking the time to gather the right materials can make all the difference in your repair experience.
Pre-Safety Checklist Before Fixing
Before you begin any repairs on your Amana washer, it’s crucial to adhere to a pre-safety checklist to ensure a safe and secure working environment. By taking these safety precautions, you can effectively carry out your maintenance tasks without the risk of accidents. Here’s a clear and actionable checklist to follow:
- Unplug the Washer: Always disconnect your washer from the power outlet before starting any repairs. This step is vital to prevent electric shocks while you work.
- Turn Off Water Supply: Locate the water valves connected to your washer and shut them off. This precaution helps avoid leaks and potential flooding during your repair process.
- Wear Protective Gear: Equip yourself with sturdy gloves and safety goggles. These items will safeguard you against sharp edges, debris, and any other hazards you might encounter during the repair.
- Clear the Area: Make sure to remove any items surrounding the washer. A clutter-free workspace allows for easy access and movement, reducing the likelihood of accidents.
- Inspect Electrical Connections: Before starting repairs, ensure that all wiring connected to the lid switch is intact and free from damage to prevent further issues during maintenance.
Diagnose the Error Code
To effectively diagnose the error code on your Amana washer, the first step is to note the specific code displayed on the control panel. Each error code indicates a specific issue, frequently related to the lid lock mechanism. Once you have the code, refer to your user manual for an explanation of what it means. This is crucial for applying the correct troubleshooting techniques.
Next, inspect the lid area for any visible obstructions or damage that could be affecting the lock mechanism. It’s common for small items or debris to get lodged in this area, so a thorough check is essential. Additionally, maintaining your washer through regular cleaning can help prevent future error codes. Make it a habit to clean the components periodically to ensure smooth operation.
Step-by-Step DIY Troubleshooting Guide
Next Steps in Troubleshooting Your Amana Washer Error Code
Replace Lid Lock Switch
If your Amana washer is showing a lid lock error code, replacing the lid lock switch could be the solution you need. Let’s take this step by step to ensure you can tackle the repair safely and effectively.
- Safety First: Begin by unplugging the washer. This is crucial for your safety while working on any electrical appliance.
- Access the Control Panel: Locate the screws securing the control panel and remove them. Carefully lift the control panel to gain access to the lid lock assembly. This may require a bit of gentle maneuvering, so take your time.
- Disconnect the Old Switch: Once you have access to the lid lock assembly, disconnect the wiring harness attached to the old switch. It’s helpful to take a photo or make a note of how the wiring is configured before removing it.
- Install the New Switch: Connect the wiring harness to the new lid lock switch, ensuring it is securely attached. Once connected, position the switch in place and secure it as needed.
- Reassemble the Control Panel: Carefully lower the control panel back into position and reattach all screws, making sure they are tight to avoid any future issues.
- Test the Washer: Plug the washer back in and run a test cycle. This will help you confirm that the lid lock replacement has resolved the error code.
Repair Damaged Wiring Connections
Inspecting and repairing damaged wiring connections is a crucial step in resolving the lid lock error code on your Amana washer. To begin, always prioritize safety by unplugging the appliance from the wall outlet. Once it’s safely disconnected, carefully remove the back panel to gain access to the wiring harness.
Take a close look at the wiring insulation. You’re looking for any signs of wear, fraying, or breaks—these can often be the culprits behind error codes. If you do find any damaged sections, it’s important to strip the insulation back with care, ensuring that you maintain the integrity of the connections.
After you’ve exposed the damaged area, cover it securely using heat-shrink tubing or electrical tape to prevent any future issues. If you encounter any loose wires, make sure to reconnect them firmly to their terminals. A snug connection is key in maintaining proper function.
Once you’ve completed these repairs, replace the back panel and plug the washer back in. It’s time to run a test cycle to confirm that the lid lock error has been resolved. By following these steps, you’ll not only ensure your washer operates smoothly but also gain confidence in handling basic repairs. Remember, safety first!
Realign Lid Lock Assembly
To resolve the lid lock error on your Amana washer, it’s important to start with the realignment of the lid lock assembly. This process is straightforward and can often eliminate the error quickly. Here’s how you can do it safely and effectively:
- Unplug the Washer: Safety is paramount. Always disconnect the power to your washer before beginning any repairs.
- Remove the Top Panel: Use a screwdriver to carefully unscrew and remove the top panel of the washer. This will give you access to the internal components.
- Locate the Lid Lock Assembly: Once the panel is off, find the lid lock assembly. It’s typically situated near the lid and may have a plastic housing that holds it in place.
- Inspect the Assembly: Check the position of the lid lock assembly. Look for any signs of misalignment or damage. It should sit flush against the lid when closed.
- Adjust for Proper Alignment: Gently reposition the assembly as needed to ensure it aligns correctly with the lid. Sometimes, simply tightening screws or repositioning it slightly can resolve the issue.
- Reattach the Top Panel: Once everything is aligned, secure the top panel back in place with your screws.
- Plug the Washer Back In: Reconnect the power to your washer and test to see if the error has been resolved.
Here’s a quick reference table for your realignment process:
| Step | Action |
|---|---|
| 1 | Unplug the washer |
| 2 | Remove the top panel |
| 3 | Locate the lid lock assembly |
| 4 | Inspect for alignment |
| 5 | Adjust the assembly as needed |
| 6 | Reattach the top panel |
| 7 | Plug the washer back in |
Inspect Lid Lock Sensor
After you’ve realigned the lid lock assembly, the next important step is to inspect the lid lock sensor. Begin by unplugging your Amana washer to ensure your safety during this troubleshooting process. The lid lock sensor is typically located near the lid lock mechanism, so take a moment to find it.
Once you’ve located the sensor, look for any visible signs of damage, such as cracks or frayed wires, and check for any loose connections that could affect its operation. To accurately test the sensor, you’ll need a multimeter. Set your multimeter to the continuity setting and carefully test the sensor. If you do not get a reading, this indicates the sensor may be faulty and likely needs replacement.
Additionally, it’s a good idea to clean any debris or corrosion that may be present, as this can interfere with the sensor’s function. After you’ve inspected and cleaned the sensor, securely reconnect it.
Once everything is back in place, plug your washer back in and run a test cycle. Observe whether the error message reappears. If it does, replacing the lid lock sensor might be necessary to restore your washer’s proper operation. Remember, safety first—never hesitate to reach out for professional assistance if you’re unsure about any steps in the process.
Call a Professional If
If you’re facing persistent error codes related to the lid on your Amana washer, it’s a good idea to reach out to a professional for help. Symptoms such as the lid not locking properly, repeated error messages, or the washer failing to start can all point to more complex issues within the lid lock mechanism. While some might think these problems are simple to fix, attempting DIY repairs can lead to more significant complications or even damage.
Professionals in appliance repair have the knowledge and specialized tools required to accurately diagnose and resolve these issues. They can ensure that any faulty components are replaced with genuine parts, thereby restoring your washer’s functionality effectively. Additionally, working with a professional can save you time, reduce frustration, and help avoid extra repair costs that can arise from incorrect handling.