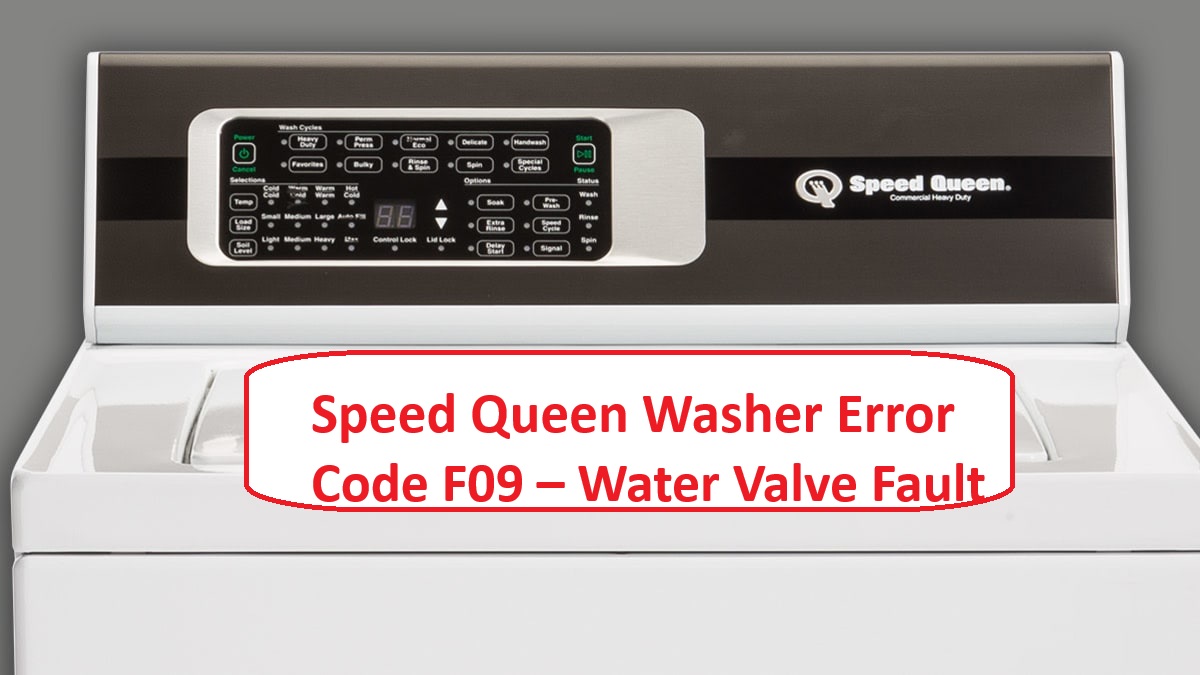
If you’re dealing with the Speed Queen Washer Error Code F09, we understand how frustrating this situation can be.
This specific error indicates a water valve fault, which means your washer is having trouble filling up with water properly.
Don’t worry—this is a common issue that many people face, and there are often simple DIY solutions to get your washer back up and running.
One common cause of this error is a faulty water inlet valve, which is responsible for allowing water into your machine.
However, there could be other reasons for the F09 error as well.
We encourage you to read through the entire post to learn more about this error and other potential causes.
With a little guidance, you can troubleshoot and resolve the issue yourself!
What Does the Error Code Means?
The Speed Queen washer error code F09 indicates a communication issue between the machine’s control board and the motor control board. Essentially, this error means that the washer is unable to send or receive commands properly, which can result in operational problems.
Understanding this error code is crucial for effective troubleshooting. Here are some steps you can take to address the issue safely:
Effective troubleshooting of the F09 error code is essential for resolving communication issues in your Speed Queen washer.
- Check Wiring Connections: Start by inspecting the wiring connections between the control boards. Ensure that all connections are secure and that there are no visible signs of damage, such as frayed wires or loose terminals. A loose or damaged connection can interrupt communication.
- Inspect Control Boards: Next, examine both the control board and the motor control board for any signs of wear, burn marks, or other damage. If you notice anything unusual, it may indicate that the board needs to be repaired or replaced.
- Reset the Machine: Sometimes a simple reset can resolve communication errors. Unplug the washer from the wall for about five minutes. Once you plug it back in, check to see if the error code still appears.
- Consult a Professional: If you’ve gone through these steps and the error persists, it’s advisable to contact a professional technician. They can provide a more in-depth diagnosis and perform any necessary repairs safely. Additionally, they may check for a faulty temperature sensor that could also contribute to the communication issue.
Common Causes Behind Error Code
Potential Issues Leading to F09 Error Code include problems with the water inlet valve, debris blockages, insufficient water pressure, clogged hoses, and faulty electrical connections. Additionally, inspecting wiring connections for looseness or damage can help identify underlying issues contributing to the error.
Faulty Water Inlet Valve
A faulty water inlet valve is a common issue that can trigger the Speed Queen washer error code F09. This valve is essential as it regulates the flow of water into your washer. When it malfunctions, you may encounter problems such as slow filling or, in some cases, no water entering the machine at all.
Several factors can contribute to the failure of the water inlet valve. Wear and tear over time is a frequent cause, as is the presence of electrical issues or sediment buildup that can obstruct the valve’s function. To prevent these problems, it’s important to perform regular maintenance on your water valve.
While troubleshooting, always start by checking for visible damage to the valve. Additionally, listen for any unusual sounds during operation; these could be indicators of an issue. If you suspect the valve might be faulty, verify that it is receiving power. You can do this safely by using a multimeter to test its resistance. Regular maintenance of the drain pump filter can also help in preventing related issues.
Clogged Water Supply Line
When dealing with error code F09 on your Speed Queen washer, one common issue to consider is a clogged water supply line. If you notice low water pressure during your wash cycles, it’s possible that something is obstructing the flow of water through your supply line. Clogs can result from mineral buildup over time or debris that blocks the passage of water.
To keep your washer running smoothly, it’s essential to regularly inspect and maintain your water supply line. Start by checking the filters attached to your water inlet valve; they should be clean and free from any debris. Dirty filters can significantly worsen clogs and lead to further water flow issues. Additionally, a malfunctioning drain pump can also obstruct water removal, compounding the problem.
Additionally, take a moment to inspect the hoses connected to your washer. Look for any signs of kinks, twists, or damage, as these can impede water flow as well. By being proactive in addressing these potential problems, you can ensure your washer operates efficiently and effectively, minimizing the chance of encountering error codes in the future. Remember, a little maintenance goes a long way in keeping your appliances in top condition.
Faulty Pressure Switch
If your Speed Queen washer is showing the error code F09, a likely culprit could be a faulty pressure switch. This component is crucial as it monitors water levels in your washer, ensuring that the machine operates correctly and detects errors accurately. When the pressure switch malfunctions, it can send erroneous signals to the control board, resulting in the F09 error.
Several factors can lead to pressure switch failure. Common causes include natural wear and tear from regular use, debris accumulation that can clog the switch, or a diaphragm that has become stuck.
To troubleshoot this issue, start by inspecting the pressure switch for any visible signs of damage or blockages. Look for any debris that might be obstructing its function. If everything appears intact, you can test the switch with a multimeter. This device will help you determine if the pressure switch is working as it should. Additionally, common causes of drainage issues can sometimes be linked to pressure switch failures, so it’s essential to examine the entire system.
If you find that the pressure switch is indeed faulty, it’s important to address it promptly. Replacing or repairing this component can help prevent further complications and restore your washer’s performance. Remember, safety is key, so always unplug your washer before attempting any repairs. If you’re unsure or uncomfortable with any steps, don’t hesitate to reach out to a professional technician for assistance.
Damaged Wiring or Connectors
One common cause of the F09 error code in your Speed Queen washer is damaged wiring or connectors. Over time, the insulation on wires can deteriorate, which may lead to shorts or disconnections that disrupt the power flow to the water valves. To address this issue, start by inspecting the wiring. Look for any frayed or cracked insulation, as these can indicate potential problems that need attention.
Next, pay close attention to the connectors used in your washer. Corrosion or loose connections can also trigger the F09 error. Ensure that all connectors are securely attached and clear of any dirt or debris. A simple cleaning can often resolve connection issues.
If you identify any damaged wires or connectors, it’s important to replace them promptly to prevent further complications. Regular maintenance checks can help you catch these issues early on, ensuring your washer operates smoothly and efficiently. Remember, your safety is paramount; always unplug your washer before performing any inspections or repairs. By staying proactive with your washer’s maintenance, you can extend its lifespan and reduce the likelihood of unexpected breakdowns. Additionally, using HE detergent as recommended can help prevent excess suds that may lead to further complications.
Required Tools to Fix the Error
Next Steps for Repair Preparation
In addition to gathering tools, it’s crucial to ensure that you have properly diagnosed the issue to avoid unnecessary repairs, as the water level sensor plays a key role in the F2 E1 error code.
Basic Tools
When addressing the Speed Queen washer error code F09, having the appropriate tools readily available can significantly streamline your repair process. As an experienced technician, I recommend starting with a multimeter to accurately test the water valve’s electrical components—this is crucial for diagnosing the issue effectively.
You’ll also need a set of screwdrivers, including both flathead and Phillips types, to access the internal components of your washer. Pliers will be essential for safely disconnecting hoses and securing fittings, ensuring that you can work without any leaks. A comprehensive wrench set will assist with any plumbing adjustments that may arise during the repair.
Don’t forget to have a bucket or some towels on hand to catch any water spills—this simple step can save you a lot of cleanup time. Familiarizing yourself with these troubleshooting techniques will enable you to quickly pinpoint the fault, minimizing downtime and getting your washer back in working order. By preparing with these basic tools, you can tackle the repair with confidence and efficiency. Remember, safety first—always disconnect the power before starting any repair work. Additionally, ensuring the power supply is stable can prevent similar issues from occurring in the future.
Supplies
When addressing the F09 error code on your Speed Queen washer, having the right supplies is crucial for a successful repair. Here’s what you’ll need to ensure you can tackle the issue effectively.
First, a multimeter is essential. This tool will allow you to test both the water supply and the electrical components of your washer for any faults. Understanding how to use it can help you identify issues like a faulty water inlet valve or wiring problems.
You’ll also need a set of screwdrivers. These will help you safely access the internal components of your washer. Make sure to have a variety of sizes, as different screws may require different types.
Pliers are another important tool. They will assist you in disconnecting hoses and fittings, making the process smoother and reducing the risk of damage to any components.
It’s wise to have replacement parts on hand, particularly a new water inlet valve, if your diagnostics suggest that the existing one may be faulty. Having the correct part available will minimize downtime and get your washer back up and running sooner.
Don’t forget to keep towels nearby. Water spillage is common during repairs, so having something to manage that will keep your workspace tidy and safe. Additionally, ensuring that you check for common causes of the F09 error code can help streamline your repair process and prevent future issues.
Pre-Safety Checklist Before Fixing
Before you start any repairs on your Speed Queen washer, it’s essential to prioritize your safety and prevent any potential damage. Here’s a straightforward pre-safety checklist to ensure you’re ready for the task ahead:
Prioritizing safety is crucial before repairing your Speed Queen washer; follow this essential pre-safety checklist.
- Unplug the Washer: First and foremost, disconnect the power supply. This step is vital to protect yourself from electrical shocks and ensure a safe working environment.
- Turn Off Water Supply: Locate and shut off the water valves connected to your washer. This will help prevent any leaks or water damage while you’re performing your repairs.
- Wear Protective Gear: Equip yourself with gloves and safety goggles. These items are crucial for protecting your hands and eyes from any debris, sharp edges, or unforeseen accidents during the repair process.
- Check for Obstructions: Ensure there’s sufficient space around the washer. Clear away any items or clutter to allow for safe and easy access while you work. Additionally, always remember to inspect wiring connections for damage or looseness to avoid further issues during the repair process.
Diagnose the Error Code
Once you’ve completed your pre-safety checklist, let’s address the F09 error code on your Speed Queen washer. This code usually indicates a water valve issue, so we’ll take a systematic approach to diagnose the problem.
Start by examining your water supply lines. Look for any kinks or blockages that could hinder water flow. It’s essential that these lines are free and clear to ensure adequate water supply to your washer.
Next, turn your attention to the water inlet valve. Inspect it for any visible signs of wear or damage—cracks or corrosion can indicate it’s time for a replacement. Additionally, check the electrical connections to the valve; loose or damaged wires can cause it to malfunction.
To further assess the inlet valve’s condition, perform a continuity test. This test checks if electrical current can flow through the valve, confirming whether it’s functioning correctly.
Don’t forget to check the filter screens in the water inlet valve. Clogs here can restrict water flow and trigger the F09 error. Lastly, ensure that your washer settings are appropriate for the load you’re washing, as incorrect settings can also contribute to issues.
Step-by-Step DIY Troubleshooting Guide
Moving Forward: Addressing the F09 Error Code
Replace Water Inlet Valve
Replacing the water inlet valve on your Speed Queen washer is a manageable task that can effectively address problems related to water filling. To begin, ensure the washer is unplugged and the water supply is turned off—safety first!
Next, locate the water inlet valve, which is typically positioned at the back of the machine. You will need to detach the hoses connected to the valve. Before proceeding, take note of the type of water valve your model requires; this information can usually be found in your installation or service manual. Each model may have specific requirements, so it’s essential to verify this before purchasing a replacement.
Once you have the correct valve, proceed to remove the old one by unscrewing it from its mounting bracket. This typically involves using a screwdriver or socket wrench, depending on the type of screws used.
When installing the new valve, simply reverse the removal process. Make sure that all connections are secure and that there are no leaks, as this is crucial for the proper functioning of your washer. After everything is reassembled, reconnect the hoses, turn the water supply back on, and plug the washer back into the outlet.
Finally, run a test cycle to ensure that the water filling issue has been resolved. If you encounter any problems during this process or if the issue persists, do not hesitate to consult a professional technician for assistance. Remember, maintaining your appliances is key to their longevity and performance!
Clear Clogged Water Line
If your Speed Queen washer is having trouble filling with water, one possible cause might be a clogged water line. Let’s walk through some straightforward steps to help you troubleshoot this issue safely and effectively.
First and foremost, ensure your safety by unplugging the washer and turning off the water supply. This is a crucial step to prevent any accidents while you work. Next, carefully disconnect the hoses from the inlet valves. As you do this, take a moment to check for any visible blockages within the hoses themselves.
To clear any debris, you can use a small brush or, if available, compressed air. This will help dislodge any clogs that may be obstructing water flow. Pay special attention to the water inlet screens, as these can often become clogged over time. If you notice any buildup, clean them thoroughly to restore proper function.
Once you’ve cleared any obstructions, reattach the hoses securely, ensuring there are no leaks. After everything is back in place, turn on the water supply again and plug the washer back in. Run a short cycle to test the water flow.
It’s important to remember that proper water flow is essential for your washer’s performance. By addressing any clogs, you’ll not only enhance the efficiency of your Speed Queen washer but also extend its lifespan. If you encounter further issues or are unsure about any steps, don’t hesitate to reach out for professional help. Your appliance deserves the best care!
Repair Pressure Switch Wiring
When troubleshooting issues with your Speed Queen washer, it’s crucial to closely examine the pressure switch wiring. Here’s a step-by-step guide to help you diagnose any problems effectively and safely:
| Step | Action |
|---|---|
| 1 | Unplug the washer for safety. Before you begin any repair, ensure the washer is unplugged to prevent any electrical shock. Safety should always be your top priority. |
| 2 | Locate the pressure switch. This component is usually found near the top of the washer, connected to the pressure hose. Refer to your washer’s manual if you need assistance in finding it. |
| 3 | Inspect the wiring harness for damage or disconnections. Carefully examine the wires connected to the pressure switch. Look for any frayed wires, corrosion, or loose connections that might interrupt the flow of electricity. |
| 4 | Use a multimeter to check continuity across the pressure switch. Set your multimeter to the continuity setting and touch the probes to the terminals on the pressure switch. If there’s no continuity, the switch may be faulty and require replacement. |
| 5 | Reconnect or replace the wiring harness if needed. If you find any issues with the wiring, repair or replace it as necessary. Make sure connections are tight and secure to ensure proper communication with the control board. |
Once you’ve completed these steps, double-check that all connections are secure before plugging the washer back in. Proper functioning of the pressure switch is essential for resolving issues like the F09 error code, as it enables effective communication with the control board. If you continue to experience problems, it may be time to consult a professional technician who can provide further assistance. Remember, taking the time to ensure everything is in order can save you from future headaches and repairs.
Repair Damaged Wiring Connections
After examining the pressure switch wiring, you may discover that damaged connections are a key factor contributing to the F09 error code in your Speed Queen washer. To ensure your safety, start by unplugging the washer. Carefully inspect the wiring insulation for any signs of fraying or breaks. If you identify any damage, use wire cutters to remove the affected section.
Next, strip the ends of the wires to reveal fresh copper. You’ll need to select the right type of connector for your repair—either butt connectors or wire nuts will work well, depending on your personal preference. Make sure to securely attach the wires to ensure a tight and reliable connection. To provide additional protection, wrap any exposed areas with electrical tape.
Once you’ve completed the repairs, plug the washer back in and run a test cycle. This process should help resolve the F09 error, restoring your washer’s functionality. Remember, if you ever feel unsure about any step in this process, don’t hesitate to seek professional assistance. Safety is always the top priority!
Call a Professional If
When you encounter the Speed Queen washer error code F09, it’s essential to know when to step back from DIY troubleshooting and call for professional help. If you’ve already checked the wiring connections and the issue persists, it’s time to reach out to an expert. Consulting a professional can save you valuable time and help prevent further damage to your washer. Here are some signs that indicate it’s best to call in a technician:
| Signs | What It Means | Next Step |
|---|---|---|
| Frequent error code F09 | Indicates a persistent water valve issue | Contact a professional |
| No water flow | May suggest a malfunctioning valve | Schedule an expert visit |
| Unusual noises during operation | Could point to internal component failure | Request professional help |
| Water leaks | Signals potential serious damage | Seek immediate expert assistance |
| Inconsistent performance | May indicate underlying mechanical issues | Consult a professional technician |
Addressing these signs promptly ensures that your washer continues to function effectively and helps avoid more costly repairs down the road. Remember, it’s always better to be safe than sorry when it comes to appliance repairs.