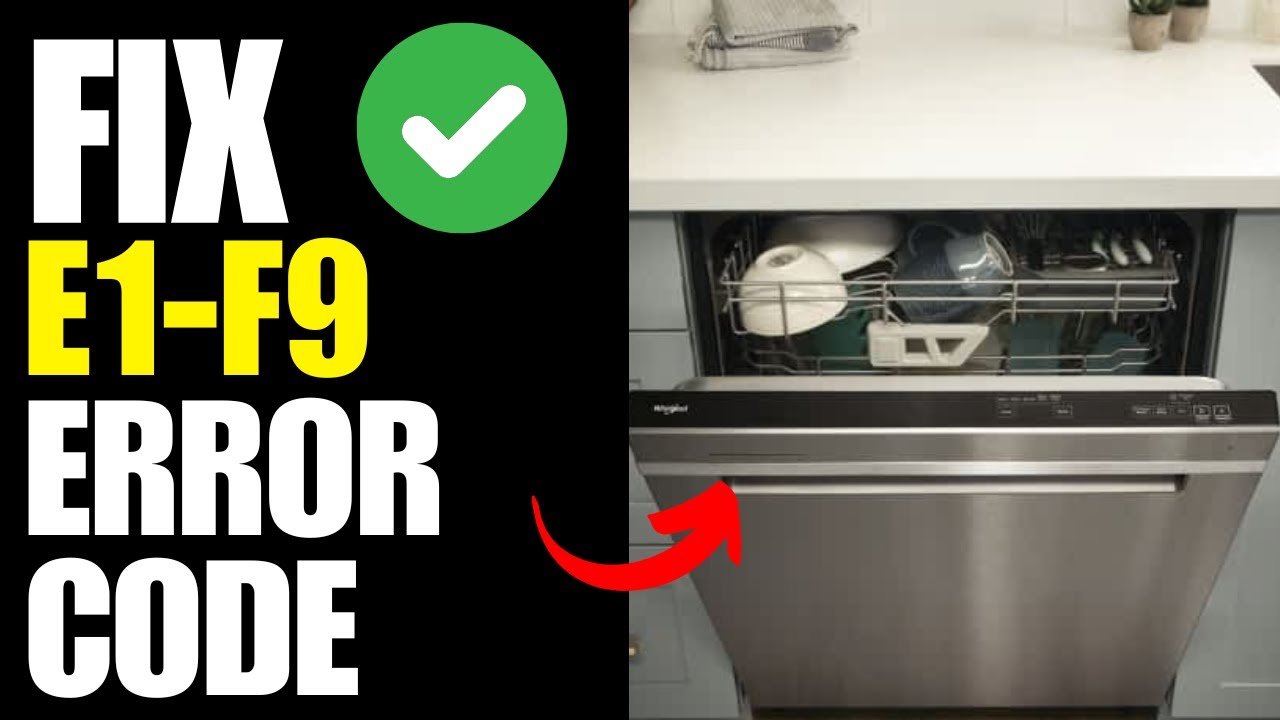
Dealing with a malfunctioning washer can be incredibly frustrating, especially when you see the error code F9 E1 flashing on the display. This specific code indicates a problem with the drain pump, which can lead to poor drainage and disrupt your laundry routine.
But don’t worry—this is a common issue, and many of its causes have simple DIY solutions.
One common cause of the F9 E1 error is a clogged drain hose. This can prevent water from draining properly, leading to the error code appearing.
To get a full understanding of this issue and explore more potential causes and solutions, be sure to read through the entire post.
With a little patience and the right tools, you can tackle this problem and get your washer back to working order!
What Does the Error Code Mean?
When your Whirlpool washer shows the error code F9 E1, it signals an issue with the door locking mechanism. This problem often stems from either a malfunctioning door latch or an electronic issue with the control board.
To tackle this, start by ensuring that you’re following proper maintenance practices for your washer. Regularly inspect the door latch for any obstructions, such as debris or damage that could prevent it from closing properly. If everything looks good but the error persists, try resetting the washer. You can do this by unplugging it from the wall for a few minutes, then plugging it back in.
Start by inspecting the door latch for obstructions and try resetting the washer if the error persists.
Another important step is to check the wiring connections to the door lock assembly. Loose or damaged wires can lead to communication issues with the control board, triggering the error code.
If you have gone through these steps and the error continues, it may be necessary to replace the door lock mechanism to restore proper functionality. By staying on top of these maintenance tasks, you can help prevent future errors and keep your washer running smoothly. Always prioritize safety and consult a professional if you’re unsure about any repairs.
Common Causes of the Error Code
Common Issues Behind the F9 E1 Error Code
Cause 1
If your Whirlpool washer is displaying the F9 E1 error code, it’s important to address this issue promptly as it indicates a potential problem with the door lock mechanism. This malfunction can hinder the washer from effectively engaging the drain pump, leading to drainage problems.
Start by inspecting the door lock for any visible damage or obstructions. Sometimes, foreign objects can prevent the door from locking properly, so be thorough in your examination. If the lock appears intact, turn your attention to the electrical connections associated with it. Ensure that these connections are secure and free from any signs of corrosion. A loose or faulty connection can disrupt communication between the control board and the door lock, which may trigger the F9 E1 error code.
It’s also crucial to check the drain pump itself. If the drain pump is malfunctioning, this could further exacerbate drainage issues and contribute to the error code. Make sure the pump is operational and clear of any debris that might block its function.
Cause 2
While checking the door lock and drain pump is an important first step, there are several other common causes that could lead to the F9 E1 error code in your Whirlpool washer. One potential issue is a malfunctioning drain pump. If the pump is clogged with debris or has failed, it won’t be able to effectively remove water from the drum, which can trigger the error code.
It’s also essential to inspect the electrical connection to the drain pump. A loose, frayed, or damaged connection can interrupt the power supply, preventing the pump from operating as it should. Make sure to check that all wires are securely connected and show no signs of wear or damage.
Additionally, take a close look at the drain hose. Kinks or blockages in the hose can impede water flow, affecting the drainage process and potentially causing the error code to appear. Ensure that the hose is straight and clear of obstructions.
Cause 3
One of the frequent culprits behind the F9 E1 error code in your Whirlpool washer is a faulty pressure switch. This essential component is responsible for monitoring the water levels inside the drum and signaling the drain pump to activate when it’s time to remove excess water. If the pressure switch isn’t functioning correctly, it may not trigger the pump, which can result in poor drainage. This, in turn, can cause your washer to display the F9 E1 error.
To investigate this issue, start by checking the pressure switch itself. Look for any visible signs of damage or wear. Additionally, examine the hose connected to the pressure switch. It’s important to ensure that this hose isn’t kinked, clogged, or otherwise obstructed, as such blockages can lead to inaccurate readings and prevent proper drainage.
If you find that the pressure switch is malfunctioning, replacing it can often resolve the F9 E1 error and restore your washer to normal operation. Remember, always prioritize safety by unplugging the washer before performing any repairs or inspections. If you’re unsure or uncomfortable with the process, don’t hesitate to reach out to a professional technician for assistance.
Cause 4
When you encounter the F9 E1 error code on your washer, one of the most frequent culprits is a malfunctioning drain pump. The drain pump plays a critical role in removing water from the washer during its cycles. If the pump fails, the washer cannot drain properly, which will trigger this error code.
To troubleshoot, start by examining the electrical connection to the drain pump. Look for any loose or damaged connections, as these can disrupt the power supply and prevent the pump from operating.
Next, inspect the pump for any debris or clogs that might be obstructing its function. If you discover anything blocking the pump, carefully remove it to allow for proper drainage.
If the pump looks intact but still doesn’t work, it may be time to consider a replacement. Addressing these issues as soon as you notice the F9 E1 error code can help restore your washer’s functionality and prevent any further complications down the line. Remember, safety first: always unplug the appliance before performing any repairs.
Required Tools to Fix the Error
Essential Tools for Repair
Basic Tools
Having the right tools readily available is crucial for effectively addressing the Whirlpool washer error code F9 E1. As a seasoned technician, I understand that successful washer maintenance and troubleshooting require a few essential tools.
First, a multimeter is indispensable for testing electrical components to ensure they are functioning properly. It allows you to check for continuity and voltage, which is vital when diagnosing issues. Next, you’ll need both a flathead and a Phillips screwdriver. These will help you access the drain pump and other internal components of the washer.
Pliers are also a valuable tool in your kit; they assist in loosening or securing hoses, which is often necessary during repairs. Additionally, keep a bucket or some towels nearby to contain any water spills that may occur during the repair process. This will help you maintain a clean workspace and avoid any slip hazards.
Lastly, having a flashlight on hand can make a significant difference. It will illuminate dark spaces inside your washer, allowing you to see what you’re working on clearly.
With these basic tools in your arsenal, you’ll be well-prepared to tackle the F9 E1 error code and restore your washer to optimal working order. Remember, safety first—always unplug the appliance before starting any repair work.
Supplies
To effectively address the Whirlpool washer error code F9 E1, you’ll need to be well-prepared with the right tools and supplies. First, gather a multimeter; this will allow you to test the electrical components and ensure that the drain pump is indeed functioning as it should. You’ll also require a flathead screwdriver and a socket wrench to access and remove the drain hose and pump assembly safely.
Have a bucket or some towels ready to manage any water that may spill during the process—this will help you keep your workspace clean and dry. Additionally, it’s crucial to check for blockages in the water supply, so having a pair of pliers on hand to disconnect hoses can prove beneficial.
Pre-Safety Checklist Before Fixing
Before diving into troubleshooting the Whirlpool washer error code F9 E1, it’s crucial to prioritize your safety. Here’s a step-by-step checklist to ensure you create a safe working environment:
- Unplug the Washer: This is your first and most important step. Disconnecting the power eliminates any risk of electrical shock while you work.
- Assess Your Workspace: Make sure your area is dry and free of clutter. A clean workspace reduces the risk of accidents and makes it easier to focus on the task at hand.
- Wear Protective Gear: Equip yourself with appropriate personal protective equipment, such as gloves to protect your hands from sharp edges, and safety goggles to shield your eyes from debris or spills.
- Check for Leaks: Inspect around the washer for any signs of water leaks. If you notice any, it’s best to address them before starting any repairs to prevent slips or further complications.
- Ensure Proper Ventilation: If you are working in a confined space, make sure it is well-ventilated. This helps to avoid any buildup of fumes from cleaning agents or other materials.
- Familiarize Yourself with the Manual: Take some time to read through the washer’s manual. Understanding the specific components and their functions will equip you with the knowledge needed to tackle the error code effectively.
Diagnose the Error Code
Once you’ve ensured a safe working environment, let’s tackle the Whirlpool washer error code F9 E1 together. The first step is to run the washer’s diagnostic procedures. This process helps gather vital information about the issue at hand. To enter service mode, refer to your user manual for specific instructions, as this will grant you access to error codes and allow you to test various components of the machine.
As you observe the diagnostic cycle, pay close attention to any unusual sounds or vibrations. These can often indicate a problem with the drain pump, which is a common issue associated with the F9 E1 code.
Next, utilize some straightforward troubleshooting techniques. Begin by checking the drain hose for clogs or kinks, as these can impede proper water flow. Ensure that the pump is securely connected and free of any debris. If you spot any blockages, be sure to remove them before moving on to further tests.
Step-by-Step DIY Troubleshooting Guide
Troubleshooting Steps for F9 E1 Error Code
Fix for Cause 1
If your Whirlpool washer shows the F9 E1 error code, it usually points to a drainage problem, which is often due to a clogged drain pump or hose. Here’s a step-by-step guide to help you troubleshoot this issue safely and effectively.
- Unplug the Washer: Safety first! Always disconnect the power before attempting any repairs.
- Inspect the Drain Hose: Check the drain hose for any kinks or blockages. Carefully remove the hose from the back of the washer and inspect it thoroughly for any debris that might be obstructing water flow.
- Access the Drain Pump: To get to the drain pump, you will need to remove the front panel of your washer. Make sure to follow the manufacturer’s instructions for your specific model to avoid damaging any parts.
- Check for Obstructions: Once you have access to the pump, look for any debris or foreign objects that may be causing a blockage. Clear away any clogs you find, as these can prevent proper drainage.
- Reassemble and Test: After everything is clean, reassemble the washer and plug it back in.
- Reset the Error Code: To reset the error code, press the “Pause/Cancel” button twice and then select a new wash cycle. This should help clear the error if the issue has been resolved.
If the F9 E1 error persists after following these steps, it might be necessary to explore further troubleshooting options. However, these steps should resolve most drain-related issues effectively. Remember, regular maintenance and inspection can help prevent these problems in the future. Happy washing!
Fix for Cause 2
After addressing any drainage issues, the F9 E1 error code can also result from a malfunctioning pressure switch or wiring problems. To begin, ensure your safety by unplugging the washer. Check the pressure switch for any visible signs of damage or blockages. If it’s dirty, gently clean it with a soft cloth.
Next, take a close look at the wiring harness connected to the pressure switch. Look for any frayed wires or loose connections, as these can lead to malfunctions. If you notice any damage, it may be necessary to replace either the wiring or the pressure switch itself to resolve the issue.
As part of routine maintenance on your drain pump, make sure all connections are secure and free from debris. Once you’ve completed these checks, plug your washer back in and run a short cycle to see if the error code persists. Following this method will not only help you interpret the error code effectively but also empower you to keep your washer running smoothly. Always remember to prioritize safety during your troubleshooting process.
Fix for Cause 3
When addressing the F9 E1 error code in your washer, one critical area to examine is the door lock assembly. A malfunction in this component can often lead to the error you’re experiencing.
First and foremost, for your safety, unplug the washer from the power source before beginning any troubleshooting. Once you’ve ensured the washer is unplugged, locate the door lock assembly, which is typically situated near the door frame. Take a moment to inspect it closely for any visible signs of damage or debris that could be affecting its function. If you notice any dirt or dust accumulation, gently clean the assembly using a soft cloth to avoid causing any further issues.
Next, check the wiring connections associated with the door lock assembly. Look for any signs of wear, fraying, or disconnection. It’s crucial that these connections are secure, as loose or damaged wires can also trigger the F9 E1 error code.
Once you’ve completed these inspections and ensured everything is in order, plug the washer back in. You’ll want to perform an error reset to clear any previous error codes. This can typically be done by pressing a specific sequence of buttons on the control panel—refer to your user manual for the exact procedure.
Finally, run a short cycle to test whether the drain pump operates correctly. Pay close attention to see if the error code reappears during this cycle. If the pump runs smoothly without triggering the error again, you’ve likely resolved the issue. If the error persists, it may be time to consult a professional technician for further assistance.
Fix for Cause 4
Once you’ve checked the door lock assembly and confirmed it’s working properly, the next step in addressing the F9 E1 error code is to investigate the drain pump. Here’s a detailed guide to help you troubleshoot effectively:
- Inspect the drain pump for clogs: Start by removing any visible debris or items that may be obstructing the pump. Sometimes small objects can get lodged in there, preventing proper drainage.
- Check the filter: A clogged filter can significantly impact the drainage process. Locate the filter—usually found near the bottom of the washer—and clean it thoroughly to ensure it’s free of any lint, hair, or other obstructions.
- Examine the wiring: Take a close look at the wiring connected to the pump. Look for any signs of wear, such as fraying or breaks, as faulty wiring can prevent the pump from operating effectively.
- Test the pump: Finally, use a multimeter to check if the pump is receiving power. This step is crucial; if there’s no voltage getting to the pump, it may need replacement. When using the multimeter, ensure the washer is unplugged to avoid any risk of electric shock, and follow safety protocols.
Call a Professional If
If you’ve tried troubleshooting your Whirlpool washer and the F9 E1 error continues to appear, it may be time to reach out to a professional technician. You’ve already taken commendable steps by following various troubleshooting tips, but a persistent error can suggest more complex issues at play, such as a malfunctioning drain pump or an electrical problem.
A qualified repair technician brings valuable expertise and specialized tools to accurately diagnose and resolve these issues. They understand the intricacies of washer systems and can safely identify problems that may not be apparent through basic troubleshooting. Ensuring repairs comply with safety standards is crucial to prevent hazards that could arise from DIY attempts.
Don’t risk further damage to your appliance or your safety by trying to tackle these issues on your own. Seeking help from a trusted expert can provide you with a thorough assessment and reliable solutions. Remember, addressing issues promptly can save you both time and money in the long run, keeping your washer running smoothly and efficiently.